
Contents:
About the Wireless USB Print Server
Wireless USB Print Server Installation
Client PC Printer Setup (Additional Installs)
Navigating the Web User Interface
Bi-Admin Management Utility >
IPP (Internet Printing Protocol)
Product Specifications for Wireless USB Print Server
Wireless USB Print Server
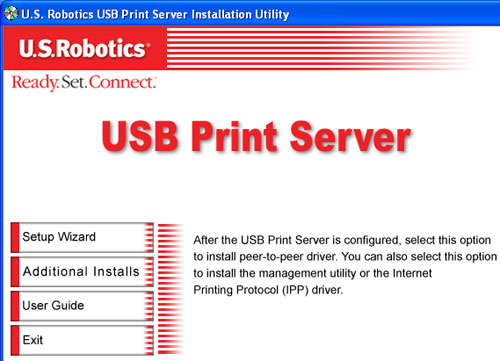
User Guide
Bi-Admin Management Utility
The Bi-Admin Management Utility can be used to configure the settings of the Wireless USB Print Server. This utility is for advanced users or for users on a network with multiple Wireless USB Print Servers. On networks with multiple Wireless USB Print Servers, it is recommended that you use the Bi-Admin Management Utility instead of the Web User Interface.
Installing the Bi-Admin Management Utility
- Insert the USRobotics Installation CD-ROM into your CD-ROM drive.
Note: If your Installation CD-ROM does not automatically launch, click Windows Start, Run, type D:\autorun (if your CD-ROM drive uses a different letter, type that letter in place of “D”), and click OK.
- Click Additional Installs and then click Next.
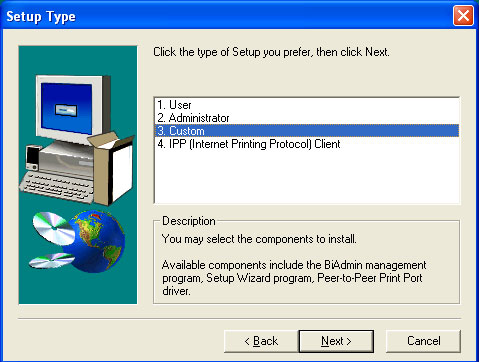
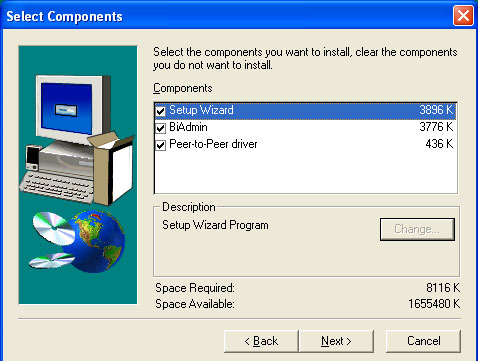
- Select either Administrator or Custom.
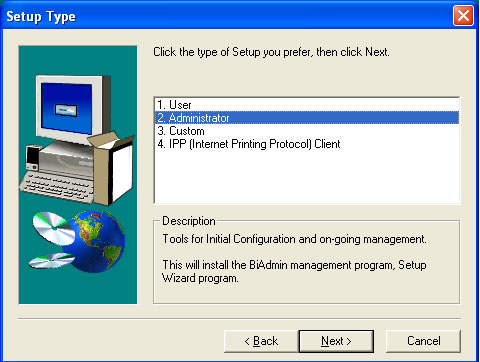
- If you choose Administrator, the Bi-Admin Management Utility is automatically installed.
- If you choose Custom, make sure BiAdmin is selected.
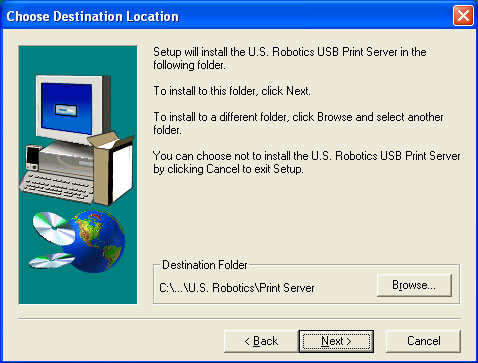
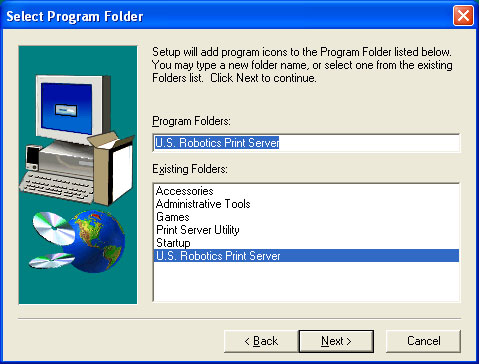
- Follow the on-screen instructions to complete the installation.
Using the Bi-Admin Management Utility
You can launch the Bi-Admin Management Utility by using the link in the Programs menu. When it is launched, the Bi-Admin Management Utility will search your network for all the Wireless USB Print Servers that are attached and running. The Wireless USB Print Servers will then be shown in the device list of the Bi-Admin Management Utility.
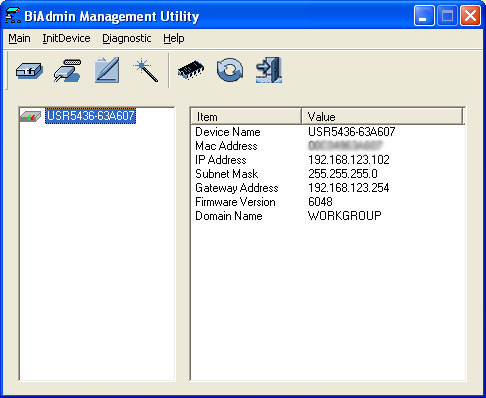
On the left side of the screen, you will see each Wireless USB Print Server that is attached to the network. If you select a Wireless USB Print Server, you will see the settings information on the right side of the screen.
If the desired Wireless USB Print Server is not listed, try performing the following steps:
- Make sure that the Wireless USB Print Server is installed and receiving power, then Refresh the list.
- If the Wireless USB Print Server is on another LAN segment, in the menu, click InitDevice and then Attach to locate and display the Wireless USB Print Server.
Status Icons
Once a Wireless USB Print Server has been selected, the icons can be used. The icons provide status information as well as access to the selected Wireless USB Print Server settings. If an icon is grayed out, that option or protocol is unavailable. There are seven icons available:
![]() Device Information,
Device Information,
![]() Printer
Status,
Printer
Status, ![]() Configuration,
Configuration,
![]() Wizard,
Wizard,
![]() Firmware
Upgrade,
Firmware
Upgrade, ![]() Refresh,
Refresh,
![]() Exit
Exit
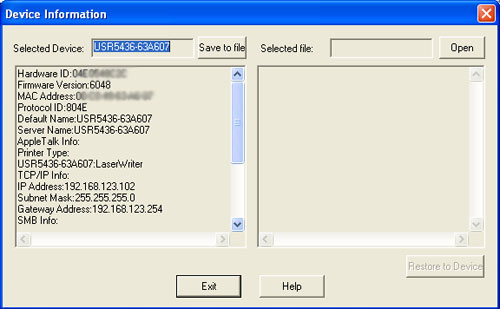
 Device Information
If you click this after selecting a Wireless USB Print Server, a new window will open and all of the settings of the Wireless USB Print Server will be displayed in the left part of the screen. Click Save to File to save a copy of the selected Wireless USB Print Server's CONFIG file to your computer. Click Restore to Device to restore a previously saved file to the selected Wireless USB Print Server.
![]()
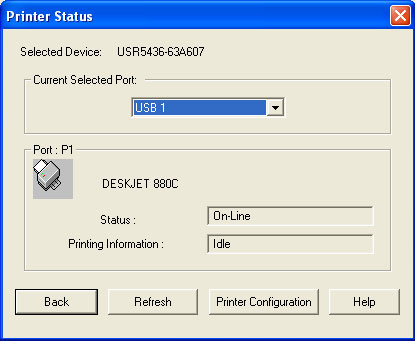
 Printer Status
If you click this after selecting a Wireless USB Print Server, a new window will open and the basic status of the printer will be displayed. Select the desired port from the drop-down list to display the current status of the printer attached to that port. The possible states for Status are On-Line, Off-Line, and Out of Paper. The possible states for Printing Information are Idle or Printing.
If the printer is bi-directional and is not busy, the Printer Configuration button will be available, allowing you to change the configuration of the attached printer. This button will be grayed out if the printer does not support this option or if the printer is busy printing.
![]()
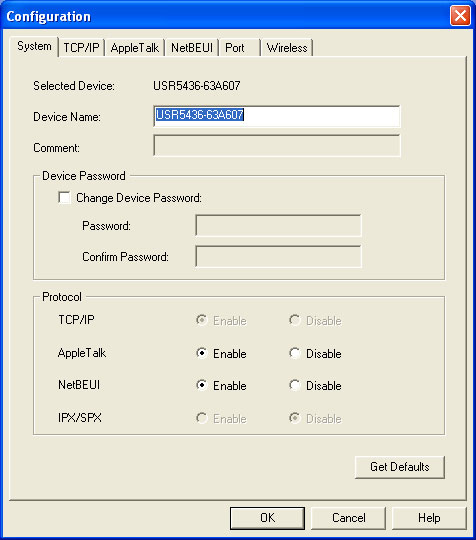
 Configuration
If you click the Configuration button, a new window will open with different tabs for the various configuration options. The different tabs are System, TCP/IP, AppleTalk, NetBEUI, Port, and Wireless.
The first tab is System. Within this screen, you can change the name of the Wireless USB Print Server, change the Password for the Wireless USB Print Server, and set the Network Protocols that the selected Wireless USB Print Server uses. Any protocols that are not used on your LAN may be disabled, which may improve performance.
The second tab is TCP/IP.
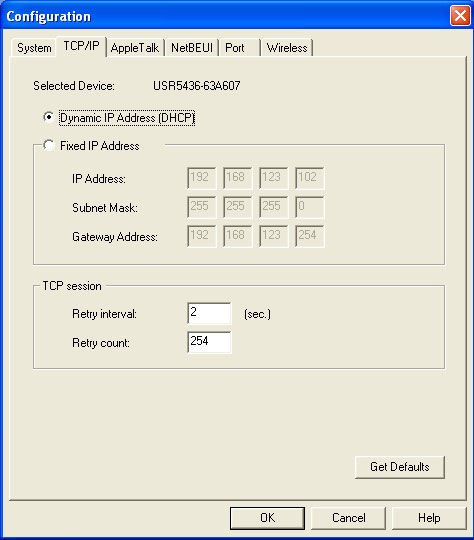
Within this tab you can configure the TCP/IP network protocol. The basic options are:
- Dynamic IP Address (DHCP): Select this if you have a DHCP server on your network that can automatically assign an IP address to the Wireless USB Print Server.
- Fixed IP Address: Select this if you do not have a DHCP server
on your network that can automatically assign IP information. If you
select this, you must manually enter the following information:
- IP Address: Select an unused IP address from the address range used on your LAN.
- Subnet Mask: Use the same values as other computers on your LAN.
- Gateway: Use the same values as other computers on your LAN.
The Wireless USB Print Server also supports the Auto-IP function. If the Wireless USB Print Server is set to Dynamic IP Address, but there's no DHCP server found on the network, the Wireless USB Print Server will get an IP from the range of 169.254.1.1 ~ 169.254.254.254 automatically. In this case, even though the Wireless USB Print Server was initialized with an Auto-IP, it will change to DHCP whenever a DHCP server is detected. The TCP session parameters should only be changed if advised to do so by your Network Administrator or Wireless USB Print Server Technical Support.
The next tab is AppleTalk.
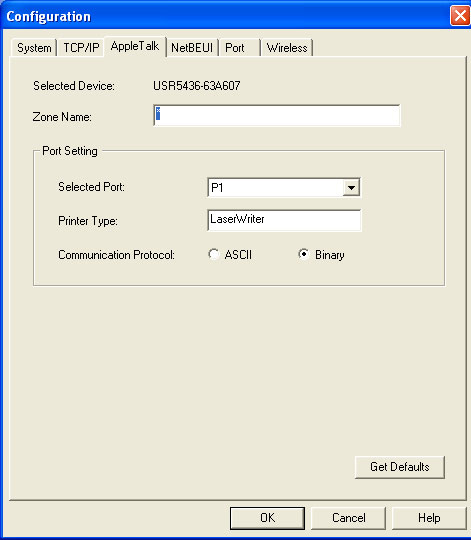
The information in this tab is only applicable to Macintosh users. Generally, no Wireless USB Print Server configuration is required in order to use AppleTalk. If you need to make any changes, you can configure the following settings:
- Set the Zone Name field to determine which Apple systems can gain access to the printer connected to the Wireless USB Print Server.
- The Printer Type field is used to describe the printer driver used for each port.
- The Communication Protocol can be set to either ASCII or Binary. This must match the setting on the Apple computer systems that are using the Wireless USB Print Server.
The next tab is NetBEUI.
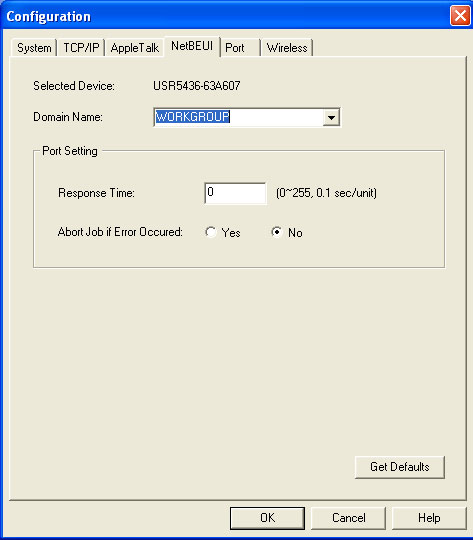
This allows you to configure the following options:
- Choose the Domain Name for the selected Wireless USB Print Server.
- Set how fast jobs are sent to the printer by using the Response Time field. This can be set anywhere between 0 and 255 seconds.
- Set the desired option for the Abort Job if Error Occured setting
- YES causes a print job to be terminated if a printing error occurs.
- NO (default) will try to continue, but may cause print errors.
The next tab is Port.
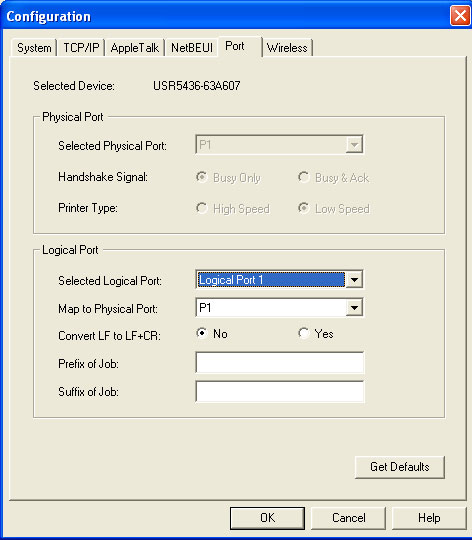
There are two panels within this screen: Physical Port and Logical Port.
Physical Port
The following settings can be modified for Physical Port:
- Selected Physical Port: Select the Physical Printer Port you wish to configure.
- Handshake Signal: Select Busy Only or Busy & Ack for the Physical Port.
- Printer Type: Select High Speed or Low Speed for the Printer Type.
Logical Port
Logical Ports (printers) can be used in the Unix environment. The following settings can be modified:
- Selected Logical Port: Select the Logical Printer Port you wish to configure.
- Map to Physical Port: Select the physical Printer Port that the Logical printer will use.
- Convert LF to LF+CR: If checked, LF (line feed) characters are changed to CR+LF (carriage return + line feed).
- Prefix of Job: The printer control string to be sent to the printer before each print job. This string cannot exceed hexadecimal 15 characters.
- Suffix of Job: The printer control string to be sent to the printer after each print job. This string cannot exceed hexadecimal 15 characters.
The Get Defaults button will reset all the configuration settings to their factory-default values.
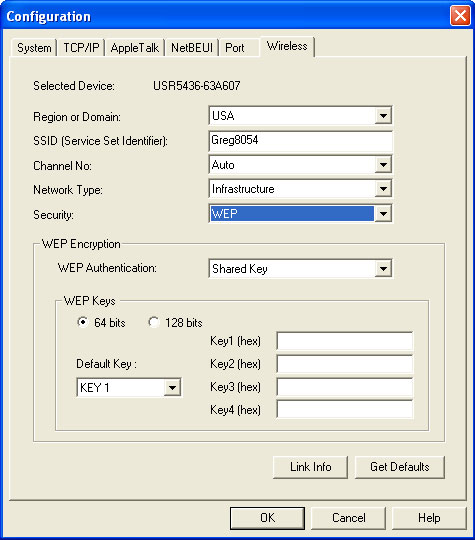
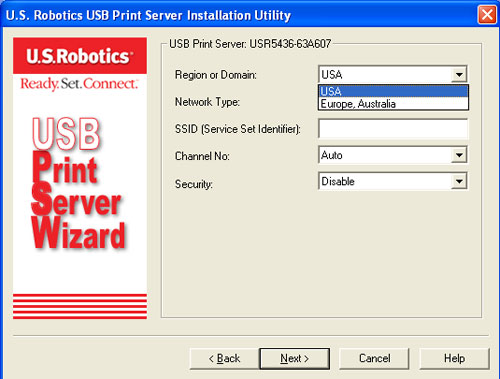
The last tab is Wireless.
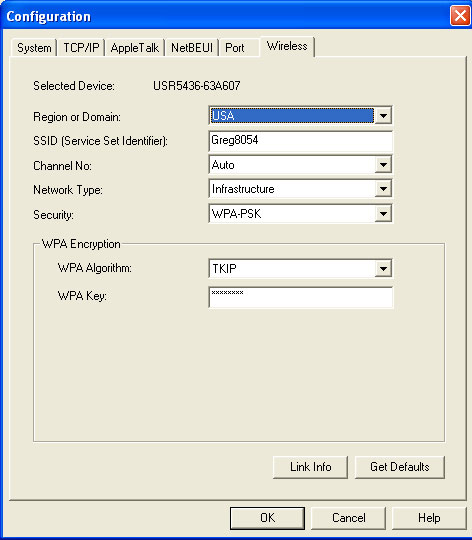
In this area you can select or enter the following information for your wireless connection:
- Region or Domain: Your choices are USA, Canada, Europe/Australia, and Japan. If it is not already selected, you should select the region where you will be using the Wireless USB Print Server. Depending on the region you select and the regulatory restrictions for that region, the selected Domain will affect what channels are available to transmit on wirelessly.
- SSID: The SSID is also known as the Network Name of your wireless router or access point. You will need to enter the SSID of the wireless router or access point to which you will be connecting the Wireless USB Print Server. If you do not enter the correct SSID, you will not be able to connect to your wireless router or access point.
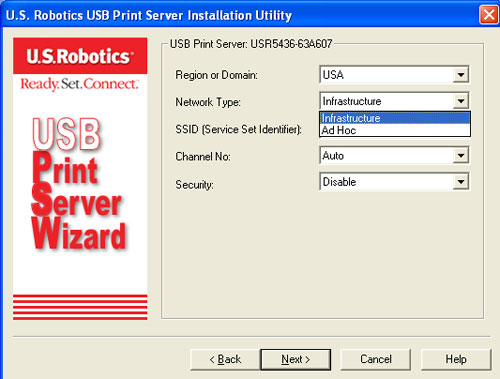
- Channel No.: The available channels will be affected by the Network Type you have selected. If you are in Infrastructure mode, you will only see Auto as an option. If you are in Ad Hoc mode, you can select a specific channel that your wireless network is transmitting on and that is within the acceptable range for your region.
- Network Type: This is the type of wireless network to which you will be connecting. You can select either Infrastucture or Ad Hoc. If you use a wireless router or access point in your wireless network, you need to select Infrastructure. If you do not use a wireless router or access point, you need to select Ad Hoc.
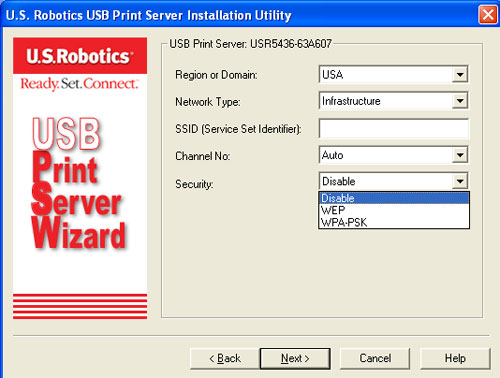
- Security: There are three security options: WPA-PSK,
WEP, and Disable.
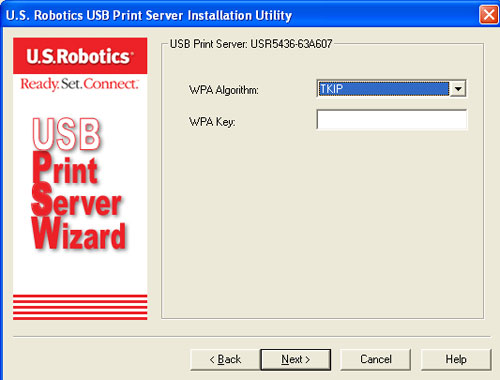
If you select WPA-PSK, you will need to enter the WPA Algorithm (or Encryption) and the WPA Key. TKIP is the only form of WPA Algorithm supported by the Wireless USB Print Server. You will then need to enter the WPA Key for your wireless network. Some wireless products also refer to this as a Network Key. This must be at least eight characters long.
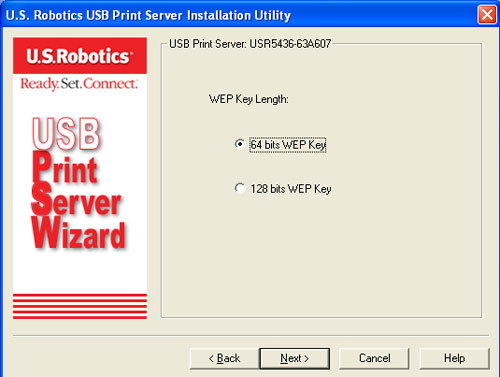
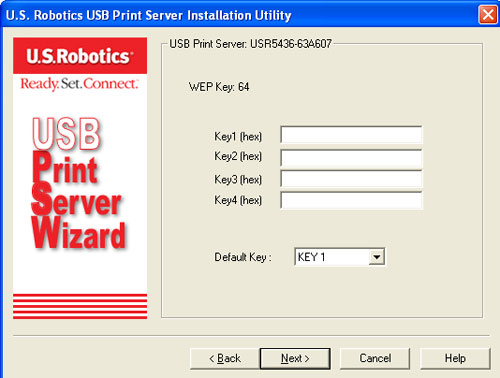
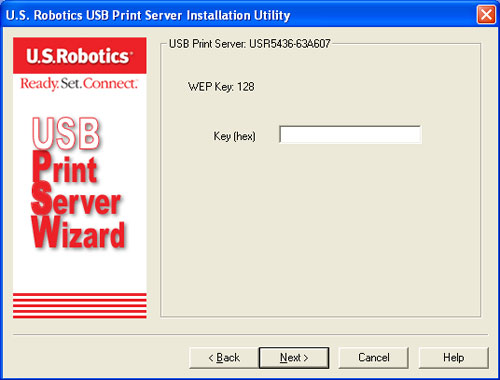
If you select WEP, you will need to choose a form of WEP Authentication: either Open System or Shared Key. You will then need to select the either 64 bits or 128 bits, which determines the Key size. After selecting one, you will need to enter up to four keys. If you select 64 bits, the key or keys must be 10 characters in length. If you select 128 bits, the key or keys must be 26 characters in length. Hex values are defined as A-F and 0-9. You will also need to select the Default Key. This is the Key that is used for encryption. The other keys are used for decryption.
If you click Link Info, you can view the basic information for your wireless connection.
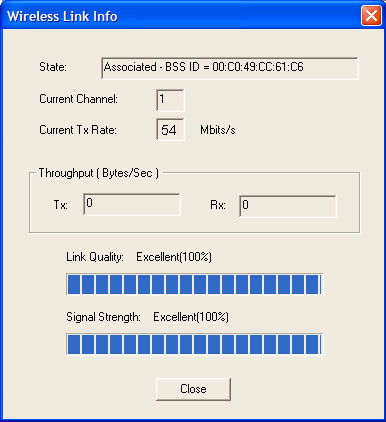
Note: The Link Quality data and Signal Strength data are not available if you are using Ad Hoc mode.
![]()
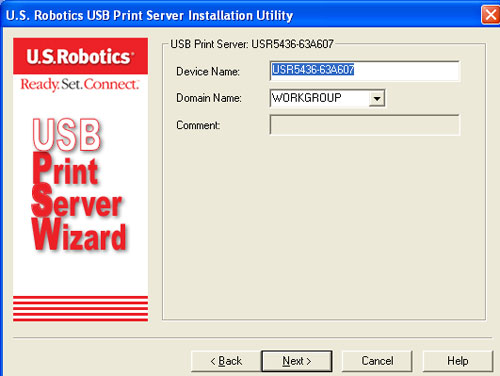
 Wizard
The next icon is Wizard. You can perform the basic configuration steps for the selected Wireless USB Print Server. The first screen will prompt you for a Device Name and a Domain Name. When you are finished, click Next.
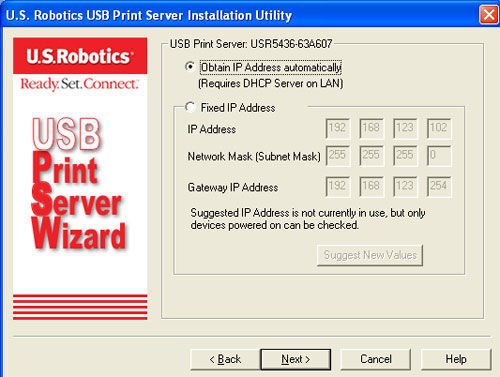
The second screen will prompt you for the IP address information. You must select either Obtain IP Address automatically or Fixed IP Address.
Select Obtain IP Address automatically if you have a DHCP server on your network that can automatically assign an IP address to the Wireless USB Print Server.
Select Fixed IP Address if you do not have a DHCP server on your network that can automatically assign IP information. If you select this, you must manually enter the following information:
- IP Address: Select an unused IP address from the address range used on your LAN.
- Subnet Mask: Use the same values as other computers on your LAN.
- Gateway: Use the same values as other computers on your LAN.
When you are finished, click Next.
Next you can select the Region or Domain where you will be using the Wireless USB Print Server.
You can then select your Network Type as either Infrastructure or Ad Hoc, depending on if you are using a wireless router or access point or not in your wireless network.
In the SSID field, you should enter the SSID of the wireless router or access point to which you will be connecting the wireless print server. You can select a specific Channel to broadcast on or select Auto. For Security, you can select either Disable, WEP, or WPA-PSK, depending on how you have your wireless network set up.
If you select WEP, you will need to pick either Open or Shared for your Authentication and then click Next.

You will then need to select either 64 or 128 bits for your Key Length. Click Next.
You will then need to enter your Key or Keys. Click Next when finished.
If you select WPA-PSK, you will need to enter the WPA Key on the next screen. This Key should match what you already have in your wireless network.
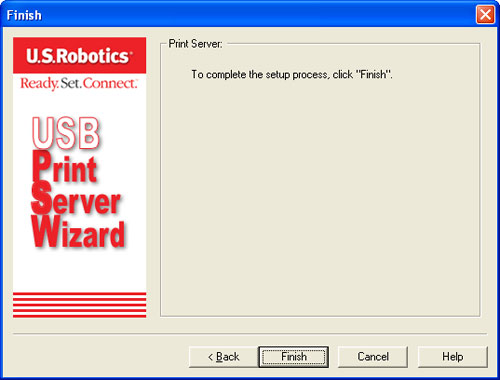
After selecting your Security type and entering any necessary information, the setup process is complete and you should click Finish.
![]()
 Upgrade
The next icon is Upgrade. This option allows you to upgrade the firmware for the selected Print Server. Before using this option, you need to obtain the .BIN file for the firmware upgrade and copy it to the same directory as BiAdmin. Go to www.usr.com/support to see if any firmware upgrades are available for the Wireless USB Print Server.
![]()
 Refresh
The next icon is Refresh. If you make any changes to the configuration of the Wireless USB Print Server, select this icon to view the new settings.
![]()
 Exit
Exit
The last icon is Exit. This closes the Bi-Admin Management Utility. If you made any changes to the settings of the Wireless USB Print Server and did not save them, those changes will be lost if you exit this utility. Make sure you save all your changes before you exit the utility.
At the top of the main Bi-Admin Management Utility screen, there is a menu bar with four options: Main, InitDevice, Diagnostic, and Help.
![]()
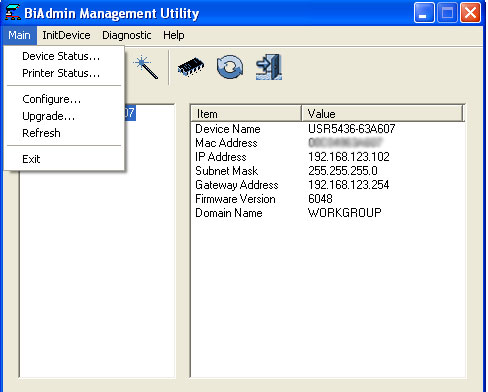
Main
Under the Main menu option, you can access the same options that are available through the Icons beneath the menu bar. Refer to the details in the Status icons area for more information.
![]()
InitDevice
Within this option, you can select Reset Device, Restore to Factory Default, Attached Remote, and Connected Protocol.
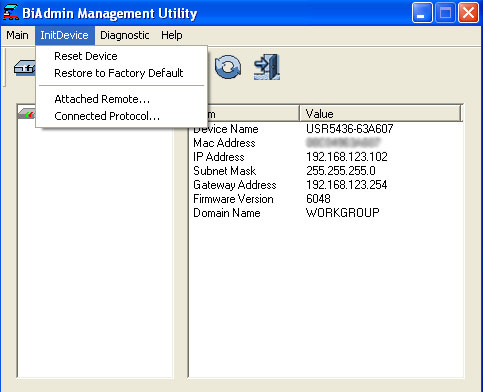
- Reset Device: This will cause the Wireless USB Print Server
to reboot. This should be done after making any configuration changes
or if the Wireless USB Print Server stops responding.
- Restore to Factory Default: This will restore all of the Wireless
USB Print Server values to the factory default settings. To restore
only the current screen, click Set to Default on that particular
screen.
- Attached Remote: This is used to connect to a Wireless USB
Print Server that is located on another LAN segment. You need to know
the IP address of the remote Wireless USB Print Server. If your LAN
does not have a router, this option is not applicable.
- Connected Protocol: This option allows you to designate which
LAN protocol will be used for communication between the selected Wireless
USB Print Server and this application. You should select only one protocol.
![]()
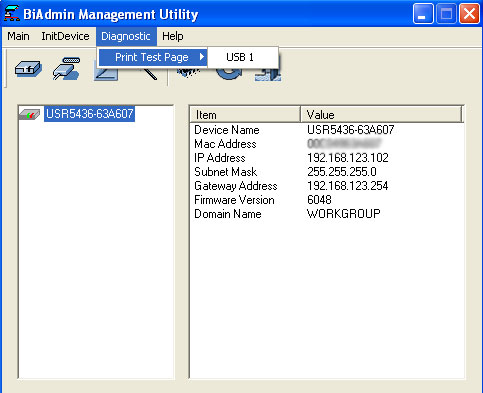
Diagnostic
Within this option, you can select Print Test Page. This will print out a test page which contains the configuration settings of the Wireless USB Print Server.
![]()
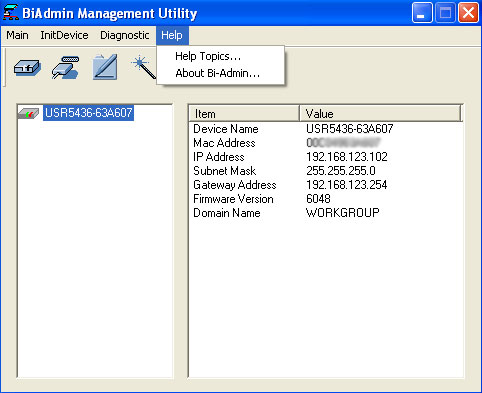
Help
The Help option will allow you to see Help Topics or the About Bi-Admin information.
![]()