
Contents:
About the Wireless Access PC Card, PCI Adapter, and Access Point
Network Configuration and Planning
Adapter Installation and Configuration for Windows 95*/98 FE*/98 SE/2000/NT/Me/XP
Navigating the Network Configuration Utility Tool and the Access Point Web Configurator
Product Specifications for Wireless Access PC Card and PCI Adapter
Product Specifications for Wireless Access Point
Wireless Access PC Card, PCI Adapter, and Access Point User Guide
Navigating the Network Configuration Utility Tool and the Access Point Web Configurator

NETWORK CONFIGURATION UTILITY TOOL
The following section describes the various functions of the Network Configuration Utility. This utility provides quick access to all adapter settings. The configuration settings will be set by default to the correct values. Only advanced users should change any of the following settings.
After installation is complete, a Utility Tool icon will appear in the taskbar on the right side near the clock. Double-clicking the icon in the Quick Launch bar will open the Utility Tool main menu, providing quick access to all adapter settings.
Link Info: The Link Info menu provides information about the current link between the adapter and the base station.
Configuration: Selecting this tab opens the Configuration menu. This is where you will find options for configuring your adapter.
Description of Settings
The following are explanations of each adapter setting in the Configuration menu.
Mode: The Mode setting determines the architecture of your wireless LAN. Choose 802.11b AdHoc or Infrastructure Mode, depending on your network type. A brief explanation of each mode follows.
- 802.11b AdHoc: This mode is used for a simple peer-to-peer network. This type of network only allows the sharing of local resources between wireless clients without a Wireless Access Point.
- Infrastructure: This mode allows a wireless LAN to be integrated into an existing wired network through an Access Point. Infrastructure type networks also permit roaming between Wireless Access Points while maintaining the connection to all network resources. Infrastructure mode provides additional features, such as WEP security, power saving, and extended range.
SSID (Service Set Identifier): SSID is the unique name that is shared among all clients and Wireless Access Points in a wireless network. The SSID must be identical for all clients or Wireless Access Points participating in the same network. The SSID is case sensitive and must not exceed 30 characters.
Tx Rate (transmit rate): Tx Rate selects the allowable transfer rates of the wireless client. To optimize performance and range, the Tx Rate should be set to Fully Automatic. This will automatically adjust the transfer speed for the best performance and longest range.
Note: The AP must support the Tx rate setting. If the AP does not support the Tx rate, undesired results may occur.
WEP (Wired Equivalent Privacy): WEP is an encryption scheme that is used to protect your wireless data communications. WEP uses a combination of 64-bit keys or 128-bit keys to provide access control to your network and encryption security for every data transmission. To decode a data transmission, each wireless client on the network must use an identical 64-bit or 128-bit key.
Note: This feature is only available in Infrastructure Mode and must also be enabled on the Access Point. Select the WEP tab to enable or disable this feature.
PS Mode: Power Saving Mode enables or disables the power saving features of your wireless adapter. When enabled on a laptop, the power saving mode can reduce power consumption by the wireless PC card and extend the battery life of your laptop. This setting is only implemented in a network that is operating in Infrastructure mode.
- Changing the PS mode: The PS Mode on your adapter is set by default to Disabled. To change the setting, select Enabled from the drop-down list, click OK, and wait a few seconds. The screen will then be updated and show the current Connection Status, Link Quality, and Signal Strength.
Channel: This setting specifies the default 802.11b channel used by the Wireless LAN to communicate. In an Infrastructure type network without an Access Point active on the default channel, clients will scan through all available channels searching for a network with a matching SSID.
- Changing the Channel: Changing the channel is only effective in Ad-Hoc networks. Networks that are operating in Infrastructure mode automatically scan for a channel. The following table contains the operational channel frequency for several countries.
|
Regulatory Channel Frequency
|
|||||||
|
Channel
|
Frequency (Mhz)
|
FCC
|
Canada
|
ETSI
|
France
|
Spain
|
Japan
|
|
1
|
2412
|
X
|
X
|
X
|
|
|
|
|
2
|
2417
|
X
|
X
|
X
|
|
|
|
|
3
|
2422
|
X
|
X
|
X
|
|
|
|
|
4
|
2427
|
X
|
X
|
X
|
|
|
|
|
5
|
2432
|
X
|
X
|
X
|
|
|
|
|
6
|
2437
|
X
|
X
|
X
|
|
|
|
|
7
|
2442
|
X
|
X
|
X
|
|
|
|
|
8
|
2447
|
X
|
X
|
X
|
|
|
|
|
9
|
2452
|
X
|
X
|
X
|
|
|
|
|
10
|
2457
|
X
|
X
|
X
|
X
|
X
|
|
|
11
|
2465
|
X
|
X
|
X
|
X
|
X
|
|
|
12
|
2467
|
|
|
X
|
|
X
|
|
|
13
|
2472
|
|
|
X
|
|
X
|
|
|
14
|
2484
|
|
|
|
|
|
X
|
Encryption: The Encryption tab allows you to create new WEP keys.
The 64-bit or 128-bit WEP keys can be generated from a user-defined passphrase. The passphrase is any text string with a maximum of 32 characters. To generate encryption keys for each client that is communicating in the wireless network, perform the following steps:
- Enter the same case-sensitive text in the Passphrase entry field for each client.
- Click Generate to create the encryption keys. The passphrase generates four unique keys.
- Select the same default key in the drop-down box for each client. This is the key the clients will use to encrypt data.
- Click Write to store the information in the registry.
- Select the Configuration tab and choose Mandatory in the WEP option.
- Click Apply Changes and then click OK.
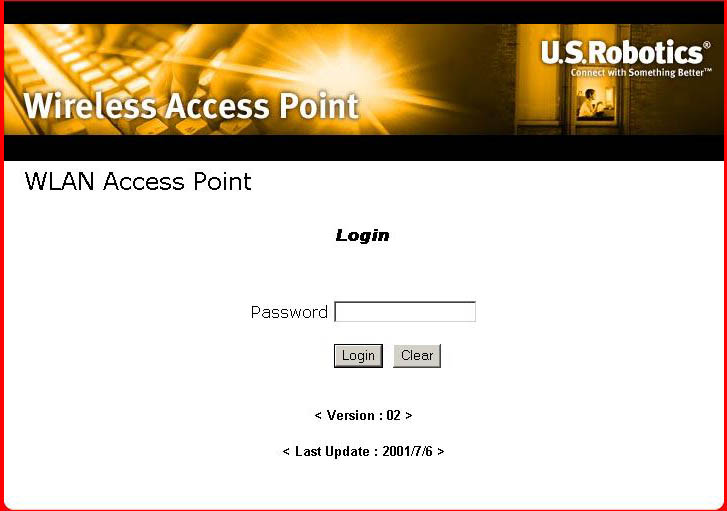
Access Point Web Configurator
Click Windows Start, Programs, and WLAN Access Point Utility to launch the Access Point Configuration Utility. Click AP in the toolbar and then click Scan. To access the Access Point Web Configurator, double-click the name of the correct Access Point in the list. The utility automatically links to the Login Page of the Access Point Web Configurator using your Windows default browser. The default password is WLAN_AP. Enter the password and click Login.
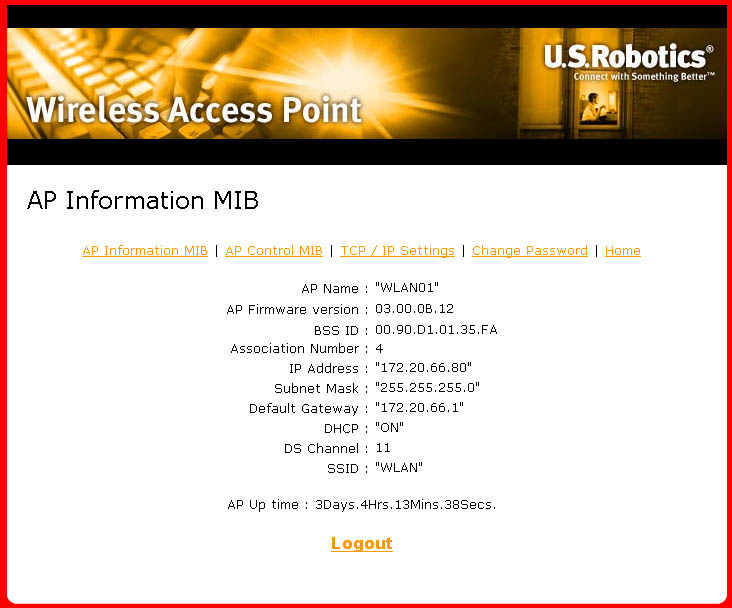
There are four configuration screens within the Access Point Web Configurator: AP Information MIB, AP Control MIB, TCP/IP Settings, and Change Password. The Home option within each configuration screen will return you to the main selection menu.
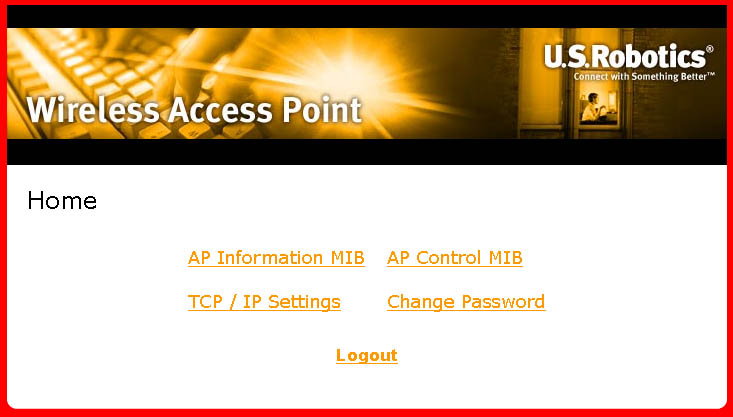
The AP Information MIB option supplies you with the basic setting information for your Access Point.
The AP Control MIB option allows you to modify the DS Channel, the SSID, and the RTS Threshold. Once any changes are made in this option, you will not be able to communicate with the Access Point until you make the same changes to all of the PC Cards or PCI Adapters in the wireless network. You can also restore the default settings by clicking Factory Default.
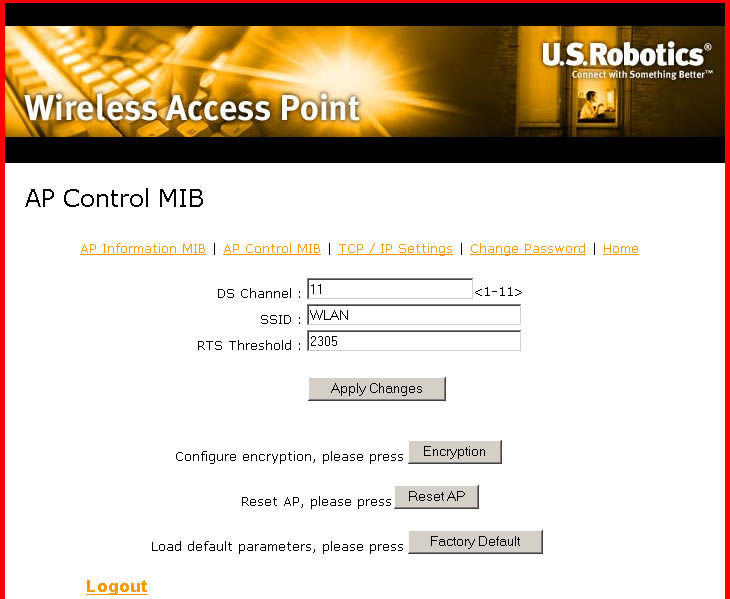
Click Encryption to change the encryption security settings.
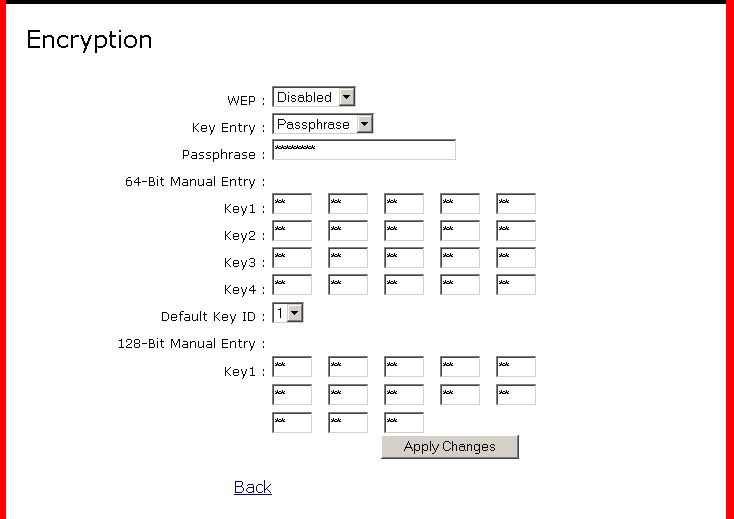
Within the Encryption option, you can modify the WEP and the Key Entry. There are three levels of encryption available: Disabled, WEP_64, and WEP_128. If you select WEP_64 or WEP_128, and Passphrase for a Key Entry, you must then enter a passphrase. This will generate the hex value to encrypt your data. Each computer that will be connecting to the wireless network must have this exact information entered. If you select Manual Entry for Key Entry, you must then manually assign the hex keys for either 64-Bit Encryption or for 128-Bit Encryption. This method is only recommended for advanced users.
When you are finished making any changes, click Apply Changes to save your settings.
The TCP/IP Settings option will supply your current settings, as well as give you the option to change any of these settings.
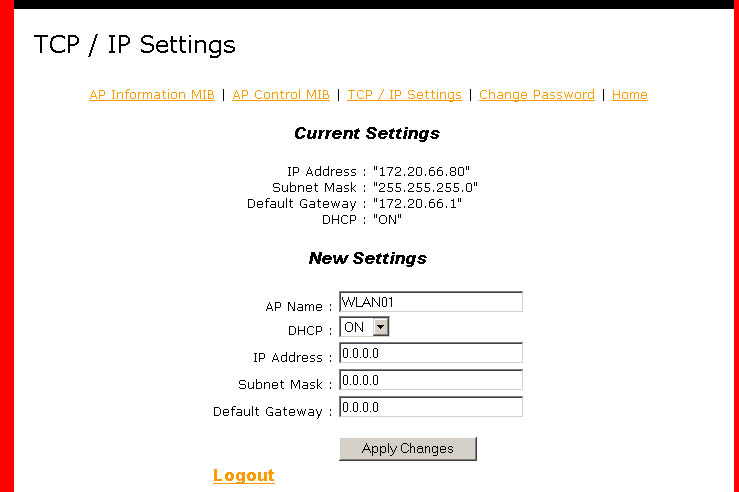
When you are finished making any changes, click Apply Changes to
save your settings.
There is also the Change Password option, where you can change
your password.
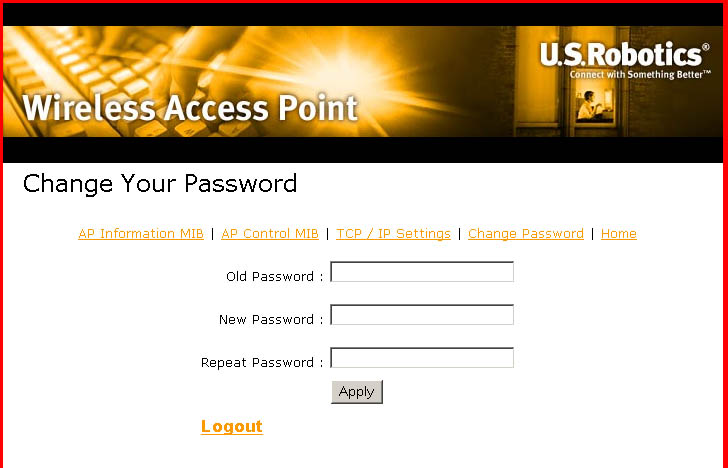
It is recommended that you write down the password for future reference. If you forget your password, you will be locked out of the Access Point Web Configurator.
When you are finished changing your password, click Apply for the new password to be activated.
When you are finished viewing or changing your Access Point information, click Logout. You will then be asked if you are sure that you want to logout. Click Yes.
![]()