Note: You cannot save any VPN settings unless you have completed the purchase and unlocked the the VPN feature.
The Wireless Ndx ASDL2+ Gateway lets you purchase and add features to your gateway, like the VPN (Virtual Private Networking) feature.
With the VPN feature, you can add a VPN tunnel between the gateway and WAN Remote gateway.
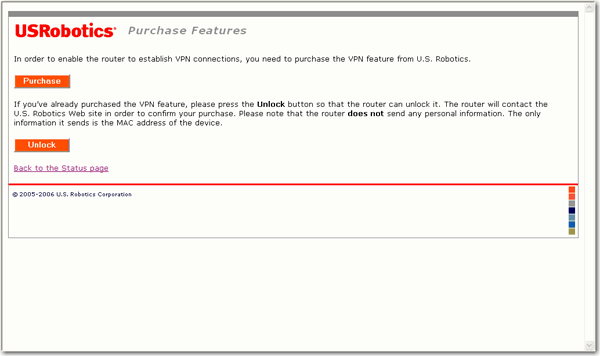
To purchase the VPN feature, click Purchase.
A web browser will open and you will be directed to the USRobotics website.
Submit the required information, including your First Name, Last Name, Address 1 and Address 2 (optional), City/Town, Zip/Postcode, Region/Province (optional) and Country.
Your request will be sent to USRobotics. Due to export regulations, the request is usually processed within 2 business days.
After the request has been processed, you will receive an email from USRobotics with a link to provide payment. Go to the link to submit your payment and complete the purchase.
After you have completed the purchase, log in to your gateway and go to Purchase VPN under the Internet menu. Click Unlock. A web browser will open and connect you to the USRobotics website so you can unlock the feature on your gateway.
Note: When unlocking the feature, the gateway does not send any personal information over the internet. It only sends the model number and MAC address of the device.
Note: You cannot save any VPN settings unless you have completed the purchase and unlocked the the VPN feature.
After the feature has been purchased and unlocked, you will see the following menu items under Internet for VPN:
Use this page to add an IPSec tunnel connection. You can create a maximum of 10 IPSec tunnels.
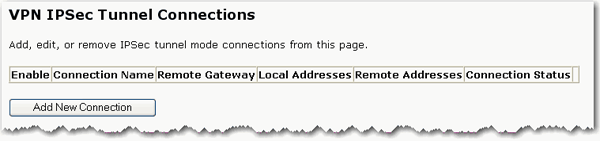
Click the Add New Connection button.
Enter the applicable settings for your connection. After entering or changing any VPN settings, click Save to apply your changes.

Connection name: Assign a name for the connection.
Remote gateway address: Enter the remote gateway address.
Allow tunnel access from these local IP addresses: Do one of the following:
To set up VPN access for a group of computers within a specific subnet, select Subnet, then enter the network IP address for VPN and IP subnet mask for local computers that will have VPN access.
To set up VPN access for a single computer, select Single address and enter the IP address for VPN and for the local computer that will have VPN access. The MAC address field will display the MAC address of the computer that is currently accessing the router configuration pages.
Note: If the IP address or subnet mask of the remote gateway changes, your VPN settings will need to be updated with the new information.
Allow tunnel access from these remote IP addresses: Do one of the following:
To set up VPN access for a group of computers within a specific subnet, select Subnet, then enter the network IP address for VPN and IP subnet mask for local computers that will have access to the remote gateway.
To set up VPN access for a single computer, select Single address and enter the IP address for VPN and for the local computer that will have access to the remote gateway. The MAC address field will display the MAC address of the computer that is currently accessing the router configuration pages.
Key exchange method: Select Automatic (IKE) or Manual.
Authentication method: Select Pre-shared key or Certificate (X 509).
Pre-shared key: Enter the pre-shared key for the connection.
Perfect forward secrecy: Select Enable or Disable.
Show Advanced IKE Settings button: Click this button to display and change the advanced IKE settings.
Mode: Select Main or Aggressive.
Encryption algorithm: Select the algorithm to use, 3DES-CBC, AES-128-CBC, AES-192-CBC, AES-256-CBC or DES_CBC.
Integrity algorithm: Select MD5 or SHA-1.
Diffie-Hellman group for key exchange: Select DH Group 1 (786 bit), DH Group 2 (1024 bit), DH Group 5 (1536 bit), DH Group 14 (2048 bit), DH Group 15 (3072 bit), DH Group 16 (4094 bit), DH Group 17 (6614 bit), or DH Group 18 (8192 bit).
Key lifetime: Enter the time, in seconds.
After creating your IPSec tunnel, you can click the Edit button to change the connection settings, or click the Delete button to delete the connection.
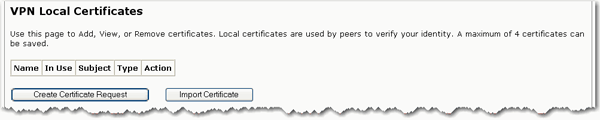
To create a certificate request:
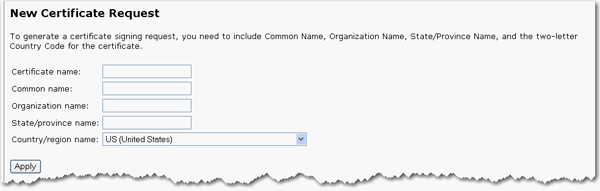
Click the Create Certificate Request button.
Enter the Certificate name, Common name, Organization name, State/province name, and Country/region name for the request and click Apply.
Verify the certificate information.
To make changes, click the Back button.

If you already have the signed certificate:
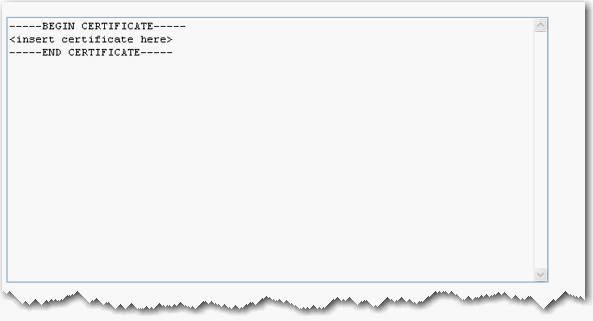
Click the Load Signed Certificate button.
Replace <insert certificate here> with the certificate text, and click Apply.
To import a certificate request:
Click the Import Certificate button.
Replace <insert certificate here> with the certificate text, and click Apply.
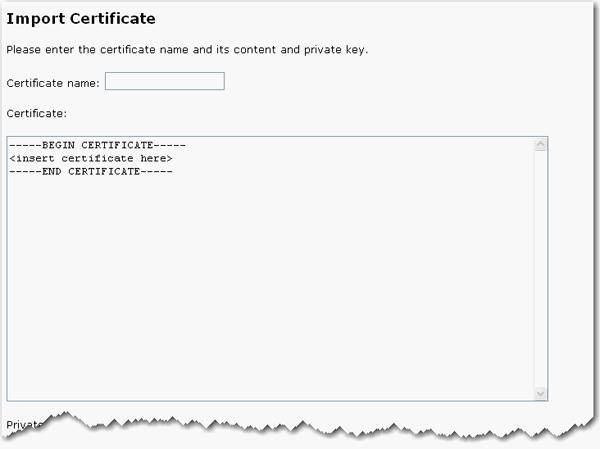
Replace <insert private key here> with the RSA private key text, and click Apply.

To import a trusted certificate:
Click the Import Certificate button.
Enter the Certificate name.

Replace <insert certificate here> with the certificate text, and click Apply.
Return to the Internet menu options.