Windows XP/2000 USB Printer Installation
A USB printer can be connected to the ADSL2+ 4-Port Router and used as a network printer if you are using an operating system that supports printing to an Internet Printing Protocol (IPP)-based printer. Windows XP and 2000 have built-in support for this function.
Note: The USB print server does not support the scanning or faxing features on multi-function printers.
Step One: Local Printer Installation
Note: If your printer and printer software is already installed on your computer, skip to Step Two: Print Server Configuration.
Before configuring your printer on the print server, it is important to install it on your computer using the drivers provided by the printer manufacturer.
- Plug your USB printer into one of the USB ports on your computer.
- Install the printer by following the installation instructions included with your printer.
- Print a test page to ensure that the printer is working properly.
Step Two: Print Server Configuration
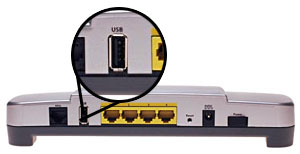
- Plug the thin rectangular end of the USB cable into the USB port on the ADSL2+ 4-Port Router.
- Connect the power supply to your printer and turn your printer on.
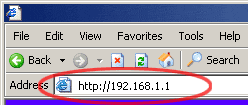
- Launch a Web browser. In the location or address line type 192.168.1.1
and press Enter.
Note: If you have modified your router's IP address, enter the new IP address instead of 192.168.1.1
- If the default User name and Password are not already filled in and you haven't changed any account passwords, enter admin and admin. (If you have changed the password for the admin account, enter that as the password.) Then click OK.
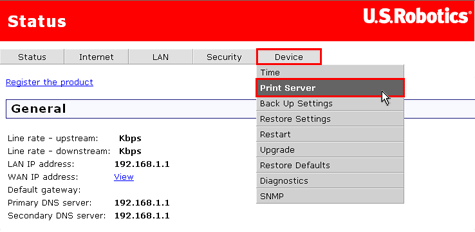
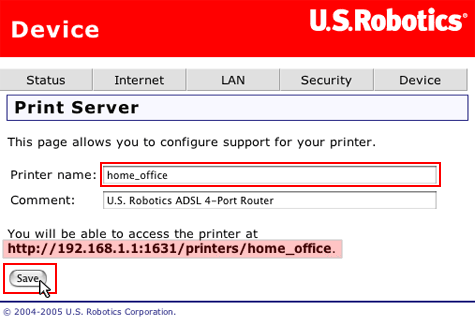
- Under the Device option in the main menu, click Print Server.
- Type a name for your printer in the field labeled Printer name.
Type the manufacturer and model number of your printer in the field labeled
Comment. Click Save.
Note: Write down the information next to You will be able to access the printer at. This information will be used in step 11.
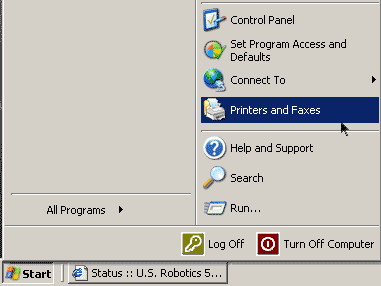
- Windows XP Users: Click Windows Start
and then Printers and Faxes.
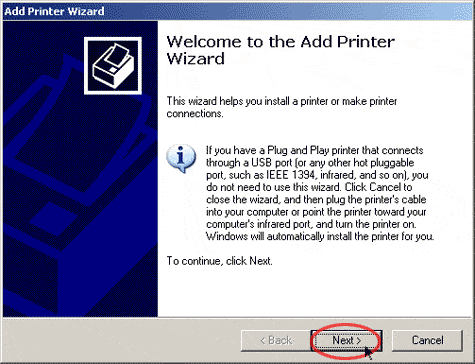
- Click Add Printer.
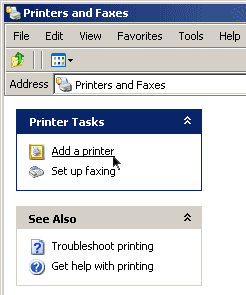
- The Add Printer Wizard will launch. Click Next.
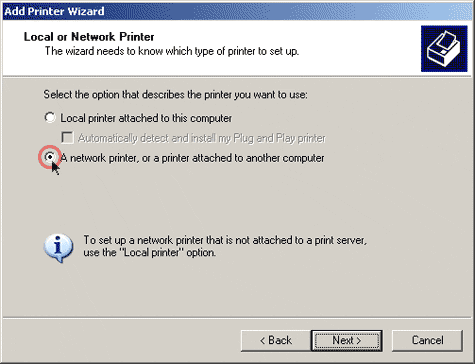
- Choose the radio button labeled A network printer, or a printer attached to another computer. Click Next.
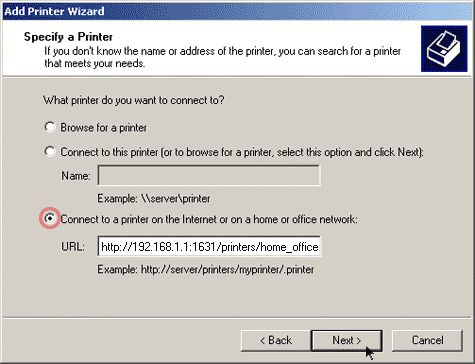
- Select Connect to a printer on the Internet or on a home or office
network. In the URL field, enter the information
recorded during step 6.
If you have changed the router's IP address, replace 192.168.1.1 with the changed address. The URL is case-sensitive, and it must exactly match the information next to You will be able to access the printer at on the Print Server page from step 6.
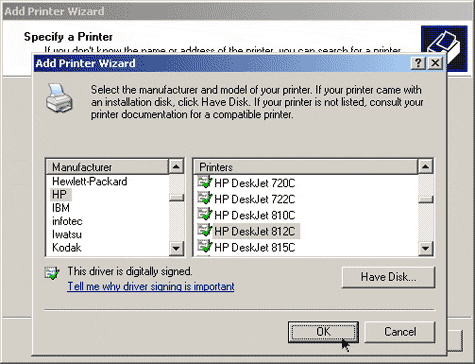
- Select the manufacturer and model of your printer. Click OK.
Note: If your printer does not appear in the list, please repeat Step One: Local Printer Installation.
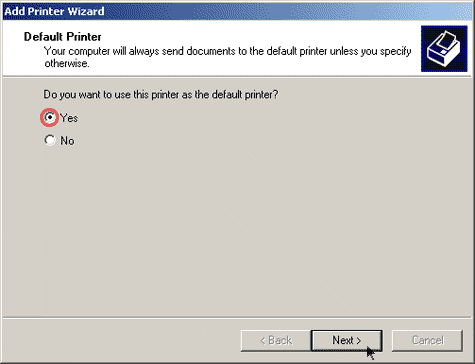
- When prompted, select Yes to set this printer as your default printer. If prompted, you can choose to print a test page.
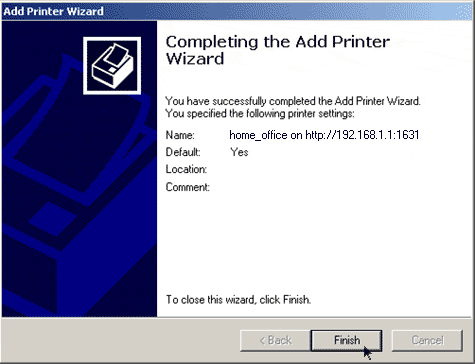
- You will be shown the information regarding your printer. Click Finish
to complete the setup process.

Note: Perform the following steps to configure your printer in Windows XP/2000. You will need to do this on every computer that is connected to your network.
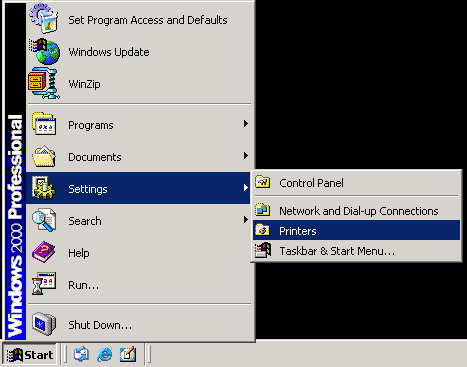
Windows 2000 Users: Click Windows Start, Settings, and then Printers.
Step Three: Verify the printer's connectivity
- Windows XP Users: Click Windows Start
and then Printers and Faxes.

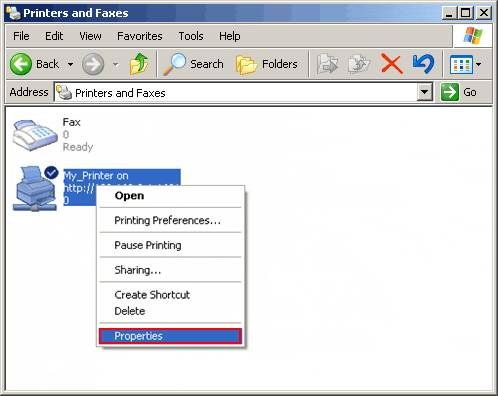
- Verify that your printer is listed. Right-click on your printer and select
Properties.
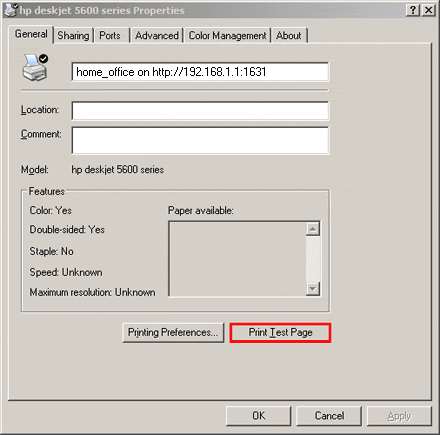
- Click Print Test Page.
Windows 2000 Users: Click Windows Start, Settings, and then Printers.

