How do I add a TCP/IP based printer in Windows XP/2000?
As an alternative to the USR7500 and USR5436 Installation Wizard, users have the ability to install a TCP/IP-based printer using protocols and support that are pre-built into Windows 2000 and Windows XP.
- Windows XP users click Windows Start and then Control Panels.
- Click Printers and Other Hardware.
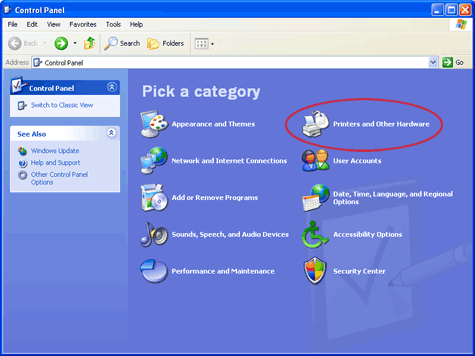
Click Printers and Faxes.
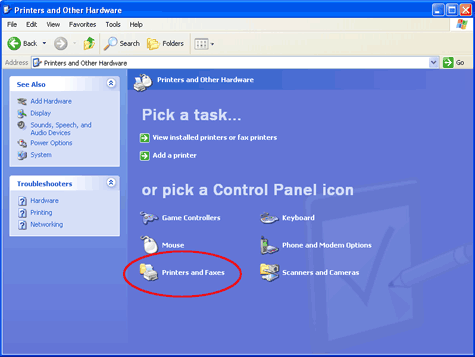
Note: Double-click Printers and Faxes if you are in Classic View or running Windows 2000.
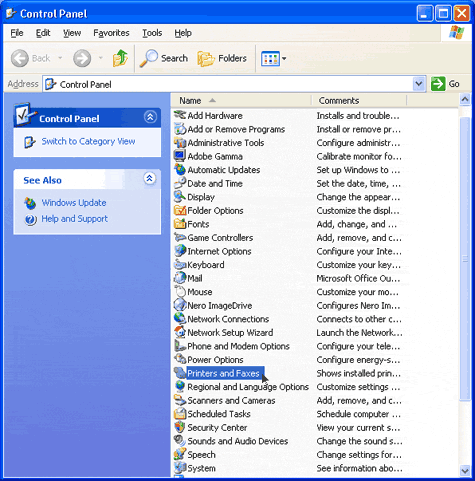
- In the main toolbar, click File and then Add Printer.

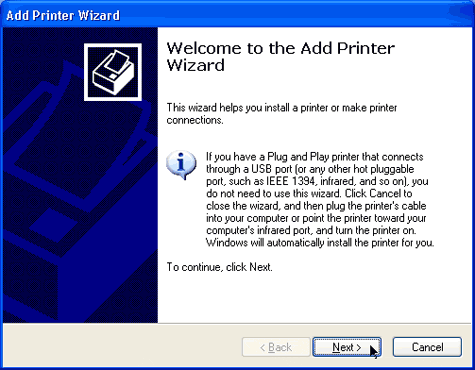
- When the "Welcome to the Add Printer Wizard" screen appears, click
Next.
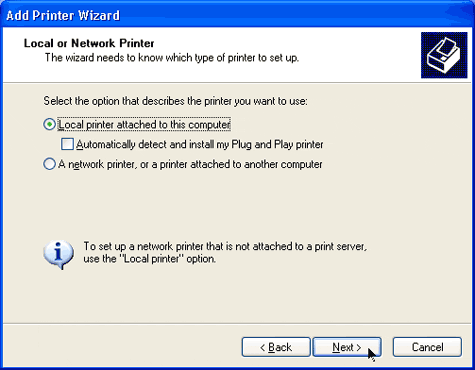
- Select Local printer attached to this computer. Uncheck
Automatically detect and install my Plug and Play printer.
Click Next.
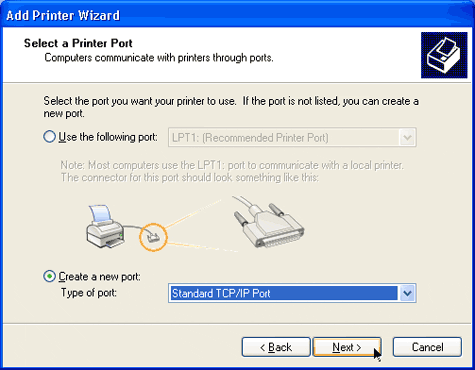
- Select Create a new port. From the Type of port drop-down
menu, select Standard TCP/IP Port. Click Next.
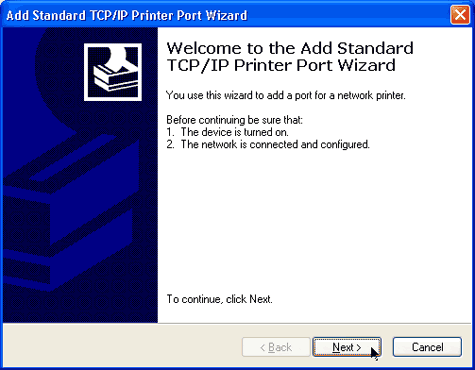
- When the "Welcome to the Add Standard TCP/IP Printer Port Wizard"
screen appears, click Next.
- In the field labeled Printer Name or IP Address:, type
the print server's IP address. Click Next.

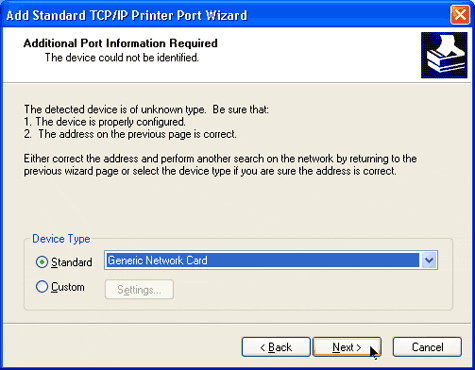
- In the Device Type section, select Standard. Select Generic
Network Card from the Standard drop-down menu.
- Click Finish.
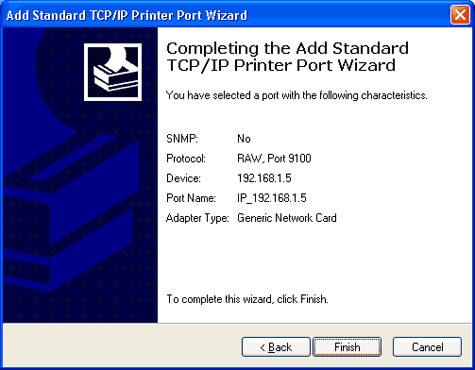
- Select your printer manufacturer and model from the list provided. Click
Next.
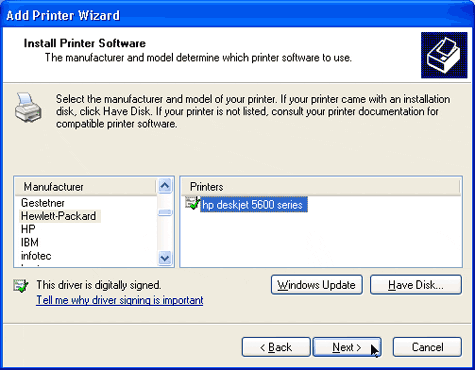
Note: If your manufacturer and/or printer is not listed, insert the installation CD that came with your printer and click Have Disk.
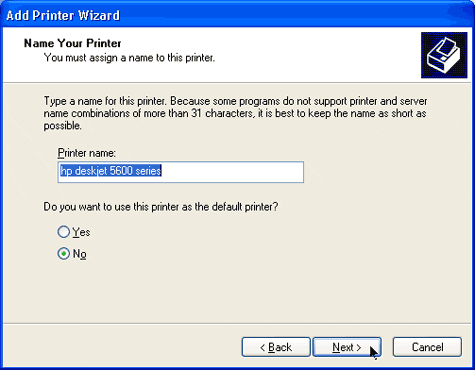
- In the Printer name field, type a name for your printer. Select Yes
to use this printer as the default printer, otherwise select No
if you plan on using this printer as a secondary printer.
- Select Yes to print a test page. Click Next.
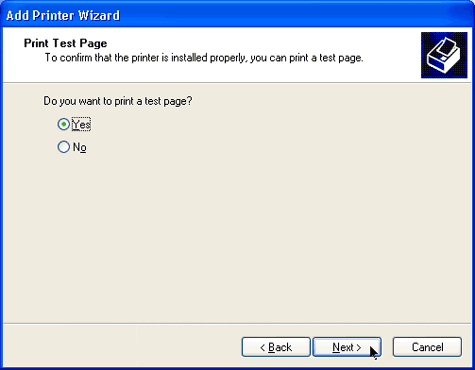
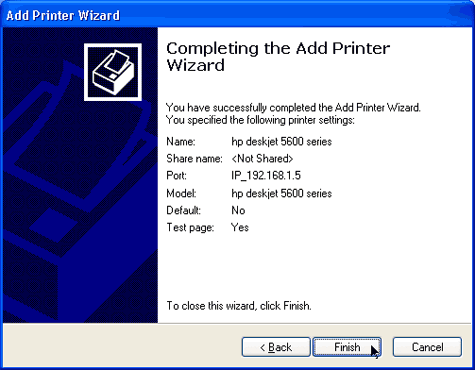
- Congratulations, you have successfully installed a TCP/IP-based printer.
Click Finish.

Note: Windows 2000 users, click Windows Start, and then Settings, and then Control Panel.