The allows you to use your to take still images or motion video clips. Start the application by selecting it from the Windows Start menu as follows:
Windows Vista and XP: Select Start > All Programs >
Windows 2000: Select Start > Programs >
The provides the following menus, which let you determine how the images and video clips will look and where they will be stored:
Once your settings are as you want them, you can take a still picture or record a video clip .
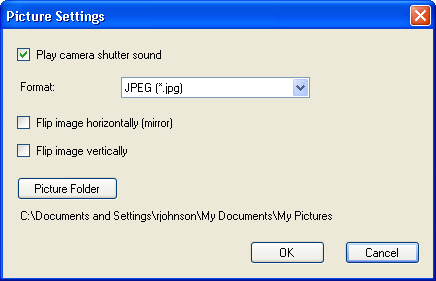
Picture Settings apply to still photographs. Open the Picture Settings window from the application by selecting File > Picture Settings. You can change the directory used to store pictures and can specify that they be saved as .jpg, .png, or .bmp. Typically, images should be saved as .jpg. You can turn off the camera shutter sound by deselecting Play camera shutter sound. Click Picture Folder to change the directory used to store captured pictures and video. Changes do not affect Skype video calls.
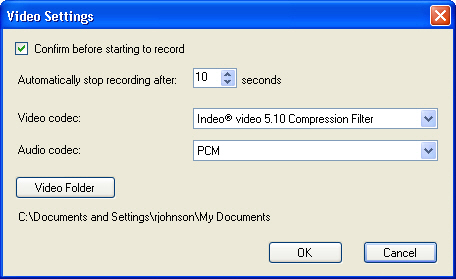
Video Settings apply to video clips. Open the Video Settings window from the application by selecting File > Video Settings. You can specify the maximum time allowed for video recordings and select the appropriate codec settings. You can change the directory used to store videos by clicking Video Folder. Changes affect only video clips recorded with the . Changes do not affect Skype video calls.
Selections on the Video menu control both still pictures and video clips.
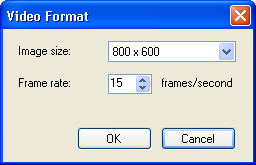
You can specify the image size and frame rate for pictures captured by the .
Open the Video Format window from the application by selecting Video > Format.
The Video Device Properties window is accessible from not only the Video menu, but also through Skype and from your system tray. For descriptions of each video property, see Video Device Properties. You can use these properties to fine-tune the image to your preference. Properties remain in effect until changed and apply to all video applications (including Skype) even after your computer is restarted.
If you have more than one video device installed on your computer, you can select the one to be used from the Video menu.
You can use the application to access your sound card's audio properties. Changes affect audio in recorded video clips only. Depending on your sound card, you may have the option to change the treble, bass, and gain for your audio input. Additionally, you may have the option to mix audio from the Line In (or other sources) with the audio from your headset's microphone.
To open the audio properties window, select Audio > Properties in the application.
If you have more than one sound card installed in your computer, you can select the one to be used from Audio menu.
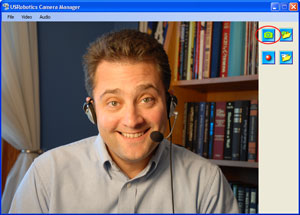
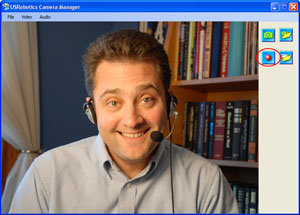
You can take a photograph in one of two ways:
Click  in the
:
in the
:
Refer to Picture Settings for information about the storage location and format of photographs. Refer to Video Format for information about the Image Size of photographs.
To view your still pictures, click  .
.
Make sure that the is running, and press the snapshot button on the camera:
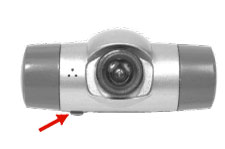
After you press the button, a window opens on your computer. Use the File menu to save the still picture.
Click  to record a video clip. When the starts to record a video clip, the remaining recording time is displayed.
Refer to Video Settings for information about the storage location and duration of recorded video clip. Refer to Video Format for information about the Image Size and Frame Rate of video clips.
To view your video clips, click  .
.