Prepare the access point and open its configuration pages:
If you are setting up the access point for the first time:
- See Step One in the installation process for instructions on making the physical connections. Both the access point and your Vista computer must be connected to the networking device with Ethernet cables.
- Log in to the configuration pages of the access point.
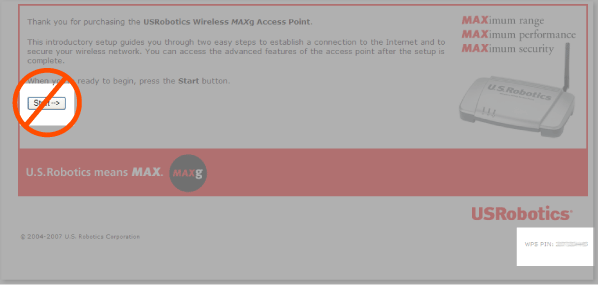
- Do not click Start on the first page, but leave the window open. You'll need the WPS PIN on this page later in this procedure.
If the access point has already been configured:
- See Step One in the installation process for instructions on making the physical connections. Both the access point and your Vista computer must be connected to the networking device with Ethernet cables.
Log in to the configuration pages.
- Click the Device tab.
- In the Factory Settings section, click Reload to restore the access point to its factory default settings. When you restore the factory default settings, all your current settings will be lost. When prompted, click Continue.
- Refresh the access point's Start page. Do not click Start on the page, but leave the window open. You'll need the WPS PIN on this page later in this procedure.
If the access point is not found:
- Click Cancel.
- Press the Reset button on the back of the access point.
- When the WLAN LED is solid, refresh the Start page of the access point to see the new WPS PIN.
- Click Add a wireless device to scan for the access point again.
The WPS PIN is displayed in the lower right corner of the router's Start page.
- Go back to your Web browser and refresh the page.
- Click the Security tab.
- In the Access Point Login section, enter a user name and password, then click Save at the bottom of the page.