These are the options available in the Device menu:
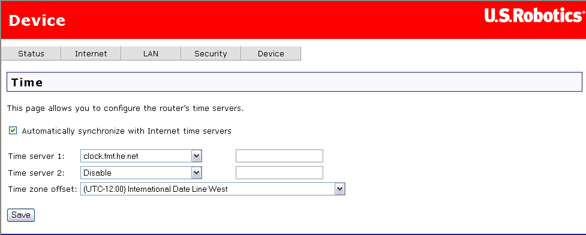
The router can synchronise its internal clock with time servers on the Internet. In this page, you can configure how it does this.
To synchronise with the Internet time server(s), specify one or two servers by either selecting them from a list or entering their IP addresses. Then select your time zone in the Time zone offset and click Save.
| Item | Description |
| Automatically synchronize... | Enable this field if you want the router to automatically synchronise its internal time. |
| Time server 1 | Select a primary time server for the router to query. To use a server that is not in the list, enter its IP address in the box to the right. |
| Time server 2 | You can optionally specify a second time server to query. |
| Time zone offset | Select your time zone here — the number of hours you are offset from Greenwich mean time. |
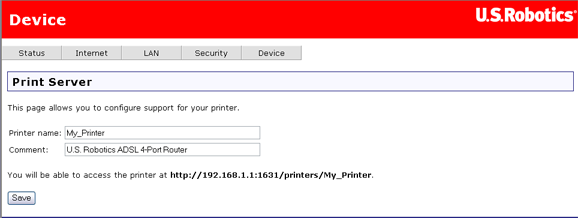
The router can support a printer, allowing multiple systems to share the printer.
Click here for information on configuring a printer.
This page shows the router's name for the printer as well as any other information you want to keep. In Comment, you can enter the printer make and model. You will use the URL shown below Comment for configuring the printer sharing.
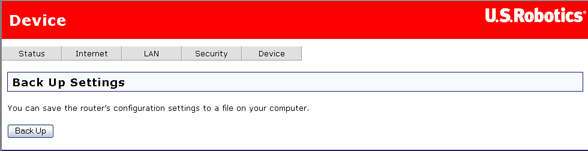
To save your router configuration settings, click Back Up and specify a file location on your hard drive.
Note: If you are using Internet Explorer 5.5 or earlier, the WUI will display the settings on the screen rather than save them to a file. We suggest that you upgrade your browser or install a different browser.
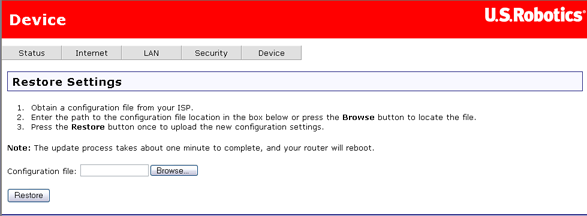
This option lets you restore device settings previously saved in a backup operation. To update your ADSL Router configuration settings, follow the steps provided on the screen.
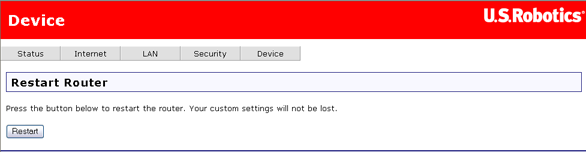
In this page, you can restart the router. This takes about two minutes.
The upgrade page allows you to update the firmware in the router.
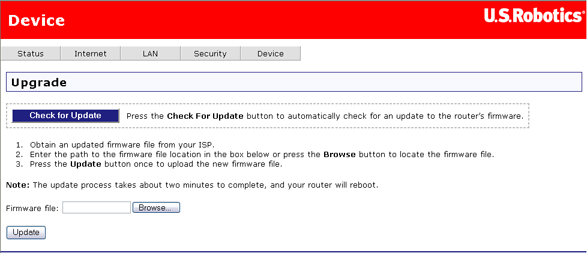
You can either check the U.S. Robotics Web site for newer firmware (by clicking Check for Update), or you might receive new firmware from your Internet Service Provider. With the new firmware file on your computer's hard drive, click Browse to locate the file and Update to perform the upgrade. The process takes about two minutes to complete. You will see a status bar like the following. Do not turn off the router or unplug any cables while it performs the upgrade.

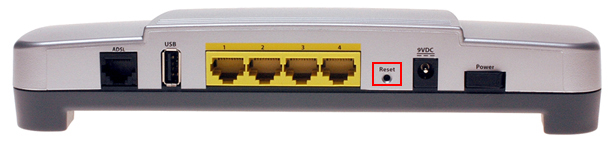
You can return the router to its original factory-installed settings in one of two ways:
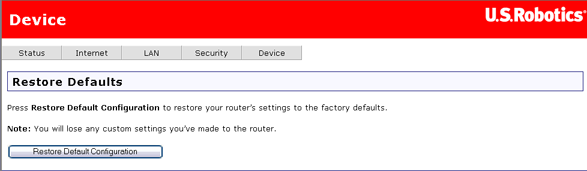
You should only need this option if the router is not functioning or you wish to reprogram completely. The troubleshooting procedure may ask you to do this. For many settings, the router is already configured to the default values.
WARNING: You will lose all your custom configuration settings if you use this option. You may want to back up the settings first.
The process takes about two minutes to complete. You will see a status bar like the following. Do not turn off the router or unplug any cables until it finishes.
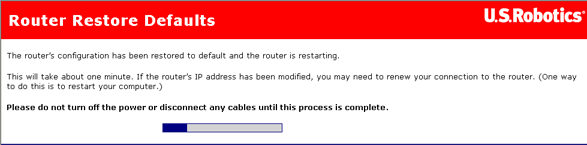
After resetting to the default settings, the Quick Setup procedure automatically starts, and you will need to repeat the configuration process, as you did when you first installed the router. You can also run EasyConfigurator, as described in the router's installation guide.
When you open this page, the router automatically performs a series of self-diagnostic test and displays the results once completed:
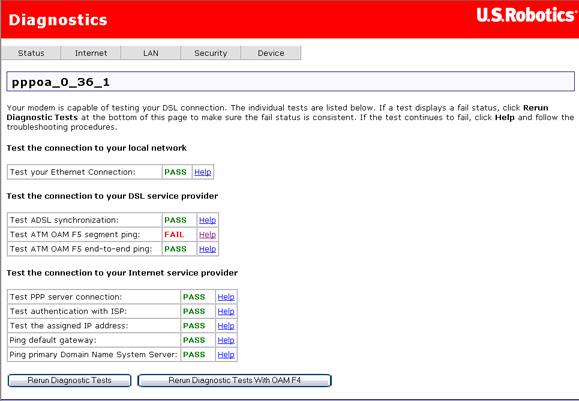
Be sure to read the help text closely. If the router fails some of the tests, you may not be experiencing a real problem.
If you want more information on a particular test or find out what to do if a test fails, click on the Help link next to its PASS/FAIL indicator.
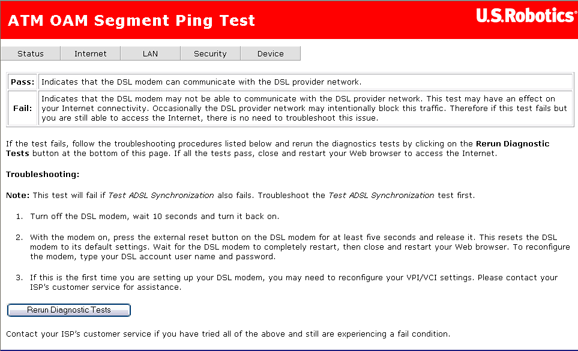
The help text tells you what it means when the router passes or fails the test, and gives troubleshooting tips to use if the test failed.