Note: The Wireless USB Print Server must be connected using an Ethernet cable for the initial configuration. After the initial configuration, you can establish a wireless connection to the network.
Turn on your printer.
Connect one end of the USB cable to the USB port on your printer, and connect the other end of the USB cable to the USB port on the Print Server.
Connect one end of an Ethernet cable to your wireless or wired router and the other end to the LAN port on the Print Server.
Slide the standard power plug for your country on to the power adapter.
Apply enough pressure to cause a click and firmly seat the plug. The power
adapter must be unplugged when you attach the plug.
North America
UK
Europe
Connect the included power adapter to the POWER port on the Wireless USB Print Server and plug the power adapter into a standard power outlet.
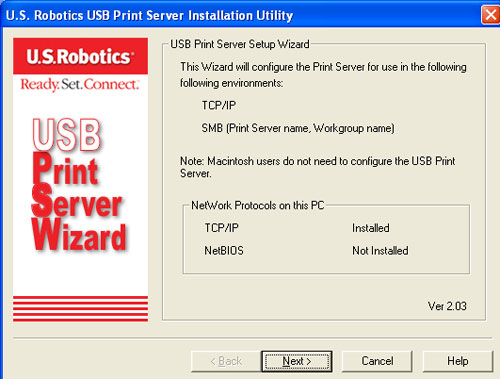
Step Two: Configure the Wireless USB Print Server
Verify you are logged on to your computer as an administrator. You must be logged on as an administrator to ensure the software will be properly installed.
Insert the U.S. Robotics Installation CD-ROM.
Click Setup Wizard and then click Next.
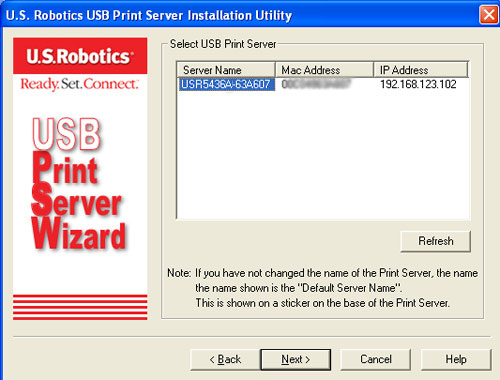
The Wireless USB Print Server will be shown in the list. Select the print server in the list and click Next. If it does not appear in the list, check your physical connections and click Refresh.
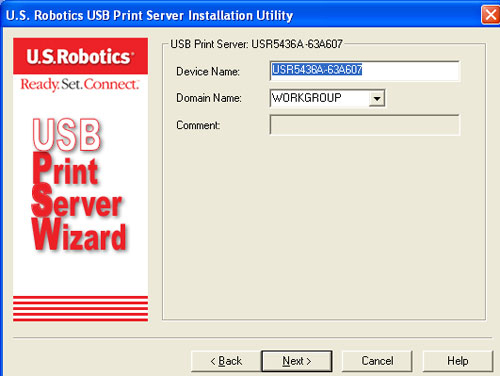
You can change the Device Name, if you want, and enter a Domain Name. When finished, click Next.
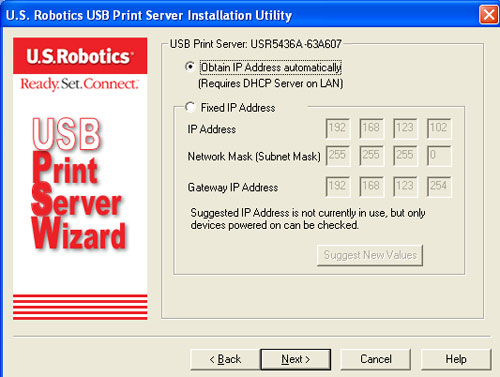
If you have connected the Wireless USB Print Server to a network device that has DHCP capabilities, you can select Obtain IP Address automatically. If your network device does not have DHCP capabilities, you can select Fixed IP Address and add the IP address information. When finished, click Next.
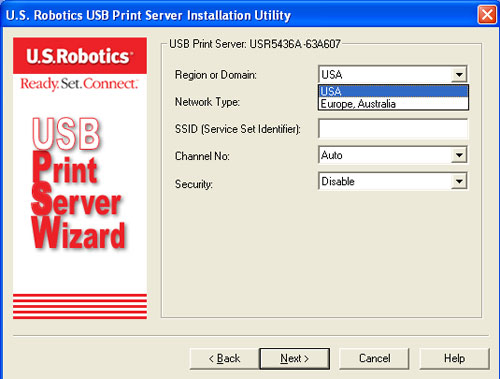
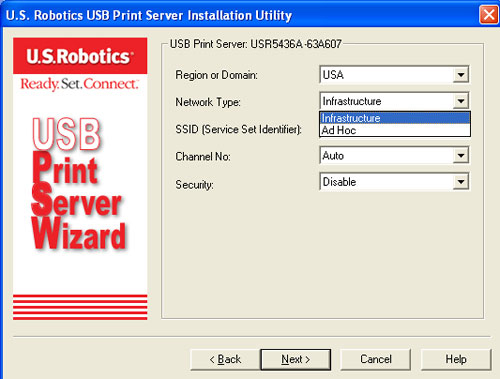
Next you can select the Region or Domain where you will be using the Wireless USB Print Server.
You can then select your Network Type as either Infrastructure or Ad Hoc, depending on if you are using a wireless router or access point or not in your wireless network.
Note: The Wireless USB Print Server is initially set in Infrastructure mode, which is used to connect to an wireless router or access point. If you will be establishing a connection to other wireless clients without using a wireless router or access point, select Ad-hoc as the Network type.
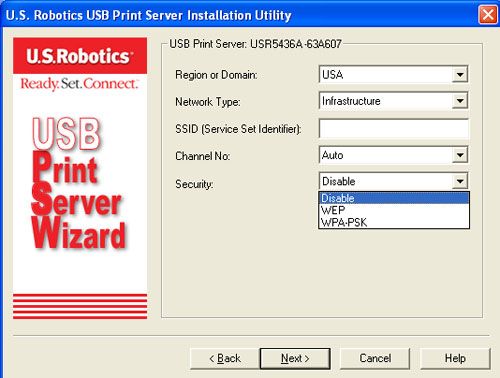
In the SSID field, you should enter the SSID of the wireless router or access point to which you will be connecting the wireless print server. If you selected Ad Hoc for your Network Type, you can select a specific Channel on which to broadcast. If you selected Infrastructure, Auto is the only channel option. For Security, you can select either Disable, WEP, or WPA-PSK, depending on how you have your wireless network set up.
Note: The only security that the print server supports is WEP or WPA-PSK. You may need to modify the security settings of your wireless network accordingly.
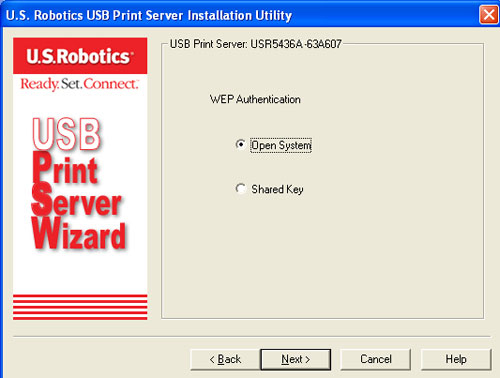
If you select WEP, you will need to select either Open System or Shared Key for your Authentication and then click Next.
You will then need to select your WEP Key Length, either 64 bit Hex, 64 bits ASCII, 12 bits Hex, or 128 bits ASCII. Click Next.
You will then need to enter your Key and select the Default Key number. Click Next when finished.
Hex
ASCII
64-bit
10 characters
5 characters
128-bit
26 characters
13 characters
WEP Key: 64 bits (ASCII):
WEP Key: 64 bits (Hex):
WEP Key: 128 bits (ASCII):
WEP Key: 128 bits (Hex):
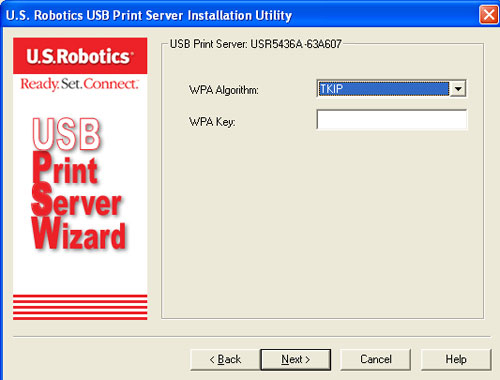
If you select WPA-PSK, you will need to enter the WPA Key on the next screen. This Key should match what you already have in your wireless network.
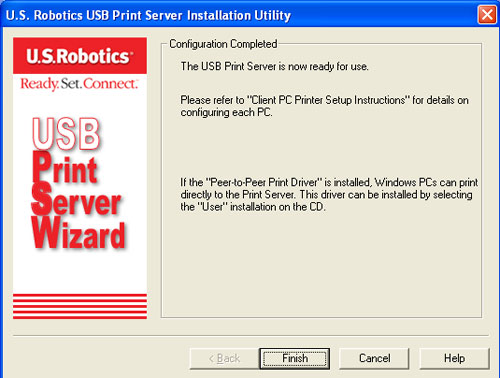
After selecting your Security type and entering any necessary information, your initial configuration is complete and you should click Finish.
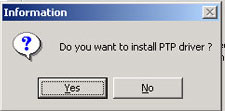
You will then be prompted to install the PTP (Peer-to-Peer) driver. Click Yes and follow the on-screen instructions.
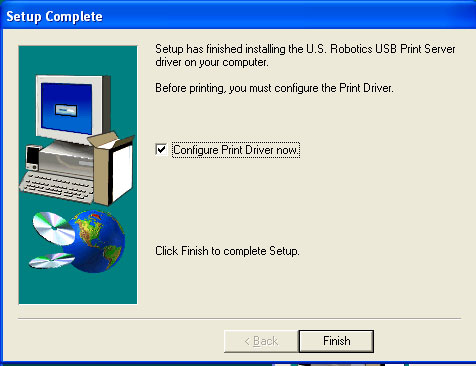
When that is completed, make sure the Configure Print Driver now checkbox is selected and click Finish.
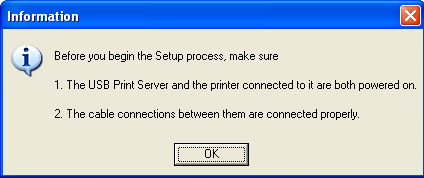
Click OK in the Information screen that appears. It may be necessary to minimize the Print Server Utility screen in order to see the Information screen.
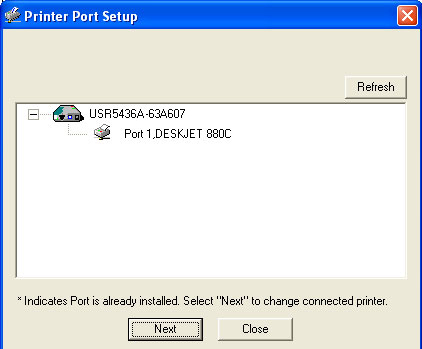
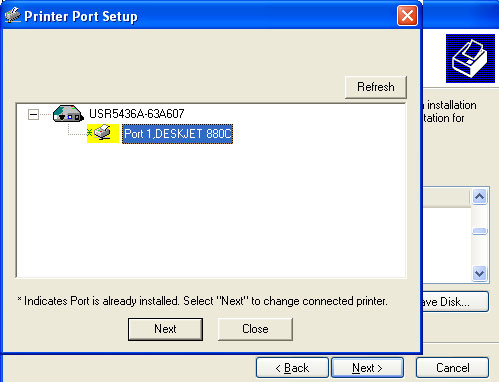
In the Printer Port Setup, select the port and click Next.
If you do not see the printer, click Refresh until the port name appears.
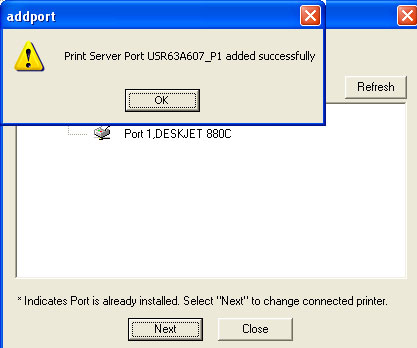
Click OK on the message that appears.
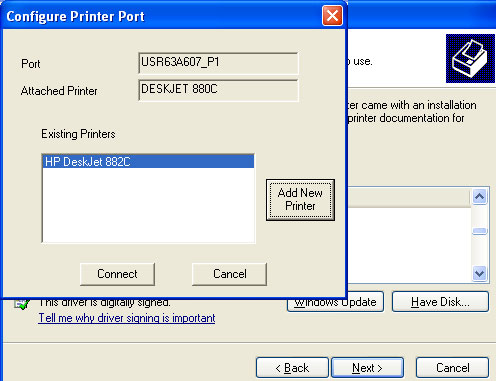
Select the printer from the Existing Printers list.
If the printer doesn’t appear, click Add New Printer and follow the onscreen
instructions.
Click Connect.
If you do not see an asterisk next to the port name in the Printer Port
Setup screen, click Refresh. If it still doesn’t appear, see Troubleshooting.
Click Close.
Step Three: Print a Test Page.
Windows XP, 2000, and NT Users:
Click Windows Start > Printers and Faxes.
Windows Me, 98, and 95 Users:
Click Windows Start > Settings > Control Panel.
Within Control Panel, click Printers and Faxes.
Right-click the printer you just installed and select Properties.
Click Print Test Page. Your printer should successfully print a test page.
Step Four: Setup the Print Server for Wireless Access
You can now access the wireless functions of the Wireless USB Print Server.
Disconnect the Ethernet cable and the power adapter from the Wireless USB Print Server.
Reconnect the power adapter to restart the print server. The print server should now establish a wireless connection to your wireless router or access point.
Repeat the instructions from Step Three: Print a Test Page. If you are able to print, your wireless connection is working correctly. If you are not able to print the test page, there is a problem with your wireless connection, see Troubleshooting.
Step Five: Connect Clients to the Wireless USB Print Server