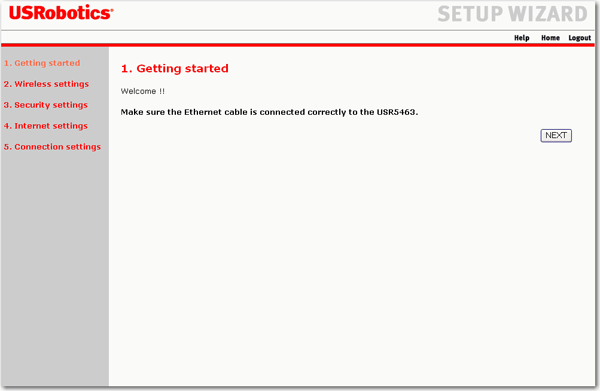
The Setup Wizard begins:
The Setup Wizard displays the Wireless settings page:
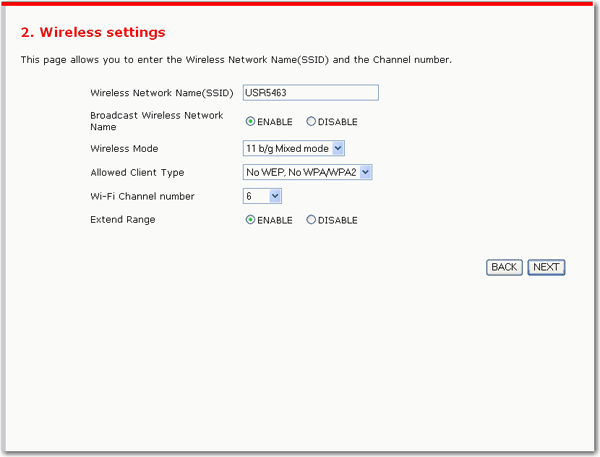
- Wireless Network Name(SSID)—The name of your wireless network. The SSID must be the same on the Wireless 11g Router and all of its wireless clients.
- Broadcast Wireless Network Name—Enables or disables the broadcasting of the SSID.
If you disable broadcast of the SSID, only devices that have the correct SSID can connect to the router.
This nullifies the wireless network discovery feature of some products such as Windows XP. - Wireless Mode—Select the mode used by your wireless devices: 11g only, 11b only, or 11b/g mixed mode.
- Allowed Client Type—The kind of security that your wireless network will use.
- No WEP, No WPA/WPA2—Disables all wireless security. By default, wireless security is disabled to make initial setup of your wireless network easier.
- WEP Only—If you select this option, the the Wizard displays the WEP page, where you must provide WEP security parameters. Once your wireless network is in place, the minimum security that USRobotics recommends is the legacy security standard, Wired Equivalent Privacy (WEP).
- WPA/WPA2 Only—If you select this option, the the Wizard displays the WPA/WPA2 page, where you must provide WPA security parameters. For maximum wireless security, enable the WPA option.
- Wi-Fi Channel Number—The radio channel used by the Wireless Router and its clients to communicate with each other. This channel must be the same on both the router and its wireless clients.
- Extend Range—Extends the wireless range of the router by processing weaker signals through eXtended Range (XR) Technology from Atheros. This option extends the range for those wireless clients that also support XR technology.
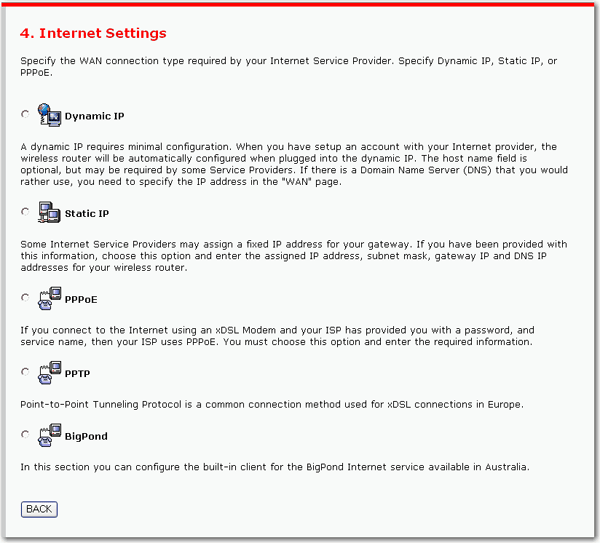
The Setup Wizard moves on to Internet Settings:
Dynamic IP:
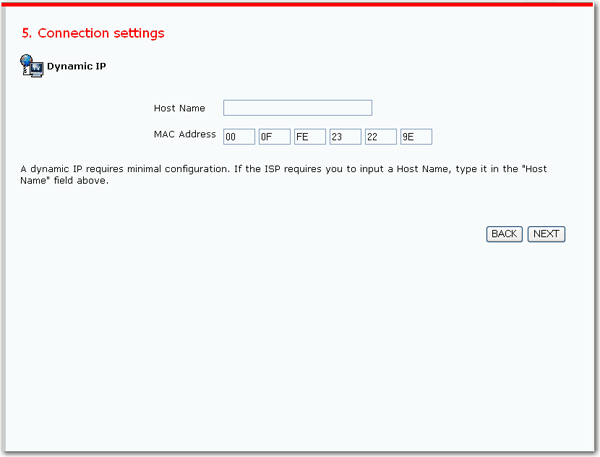
- If your ISP requires you to use a Host Name, enter it. The MAC Address is filled automatically.
- Click NEXT.
The setup wizard displays the DNS page, where you can specify an alternate Domain Name Server (DNS).
Remember to click SAVE SETTINGS on the DNS page to finish your setup and save your new settings.
Static IP:
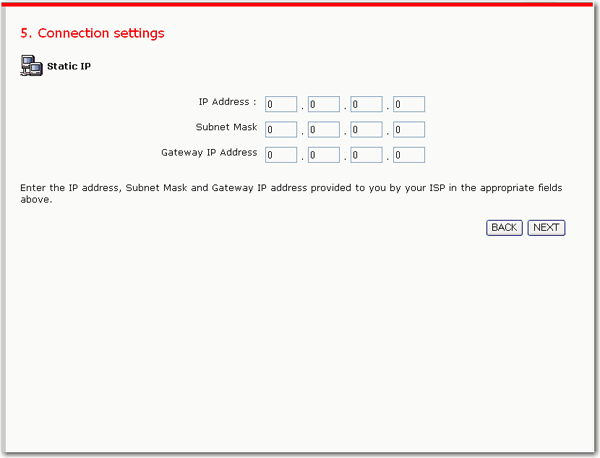
- Enter the IP Address, Subnet Mask, and Gateway IP Address. If you are not sure of the value for any of these fields, contact your ISP.
- Click NEXT.
The setup wizard displays the DNS page, where you can specify an alternate Domain Name Server (DNS).
Remember to click SAVE SETTINGS on the DNS page to finish your setup and save your new settings.
PPPoE:
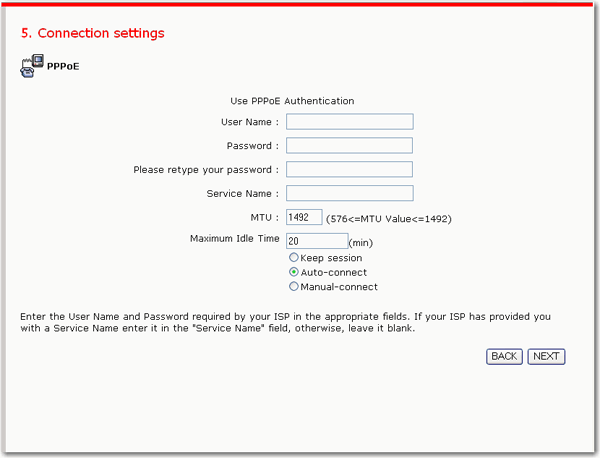
- Enter the fields as follows:
- User Name and Password—As supplied by your ISP.
- Service Name—If your ISP has provided a service name, enter it; otherwise leave this field blank.
- MTU(Maximum Transmission Unit)—Unless you have a particular reason to change this field, leave it set to the default.
- Maximum Idle Time—Enter the time that the Internet session can remain idle before being terminated automatically. Then select the action that you want the router to take when the Maximum Idle Time has elapsed:
- Keep Session—To keep the Internet session from being terminated.
- Auto-connect—To automatically re-establish the Internet connection as soon as you try to access the Internet.
- Manual-connect—To manually re-establish the Internet connection.
- Click NEXT.
The setup wizard displays the DNS page, where you can specify an alternate Domain Name Server (DNS).
Remember to click SAVE SETTINGS on the DNS page to finish your setup and save your new settings.
Note that completing the setup wizard does not automatically connect the Wireless Router to the Internet. The router connects only when you request it to, for example, by starting your Web browser.
PPTP:
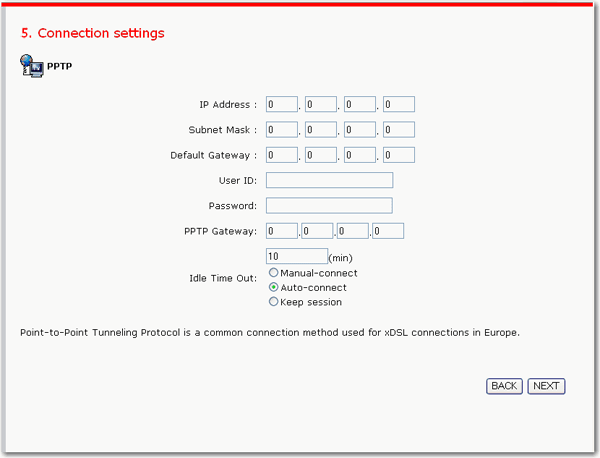
- Enter the fields as follows:
- IP Address, Subnet Mask—These fields are the addresses of your router.
- Default Gateway—The IP address of the Wireless Router (the default is 192.168.2.1).
- User ID and Password—As supplied by your ISP.
- PPTP Gateway—As supplied by your ISP.
- Idle Time Out—Enter the amount of time that the Internet session can remain idle before being terminated automatically. The default setting is ten minutes. If your ISP charges by the minute, you might want to reduce the Idle Time Out. Select the action that you want the router to take when the Idle Time Out has elapsed:
- Manual-connect—To manually re-establish the connection.
- Auto-connect—To automatically re-establish the connection as soon as you try to access the Internet.
- Keep Session—To keep the Internet session from being terminated.
- Click NEXT.
The setup wizard displays the DNS page, where you can specify an alternate Domain Name Server (DNS).
Remember to click SAVE SETTINGS on the DNS page to finish your setup and save your new settings.
BigPond:
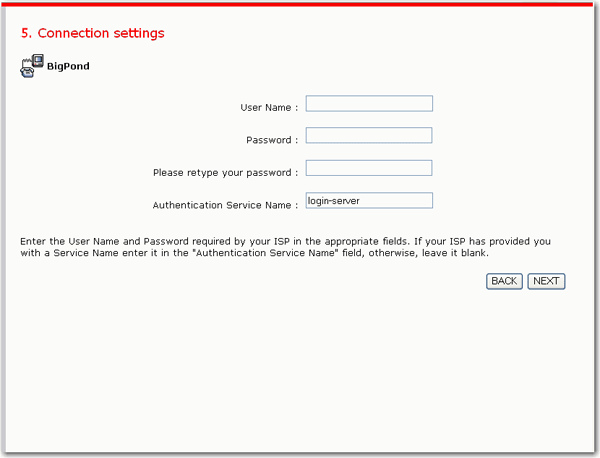
- Enter the fields as supplied by your ISP.
- Click NEXT.
The setup wizard displays the DNS page, where you can specify an alternate Domain Name Server (DNS).
Remember to click SAVE SETTINGS on the DNS page to finish your setup and save your new settings.